Easy Cheesecake Cups Recipe
Introduction
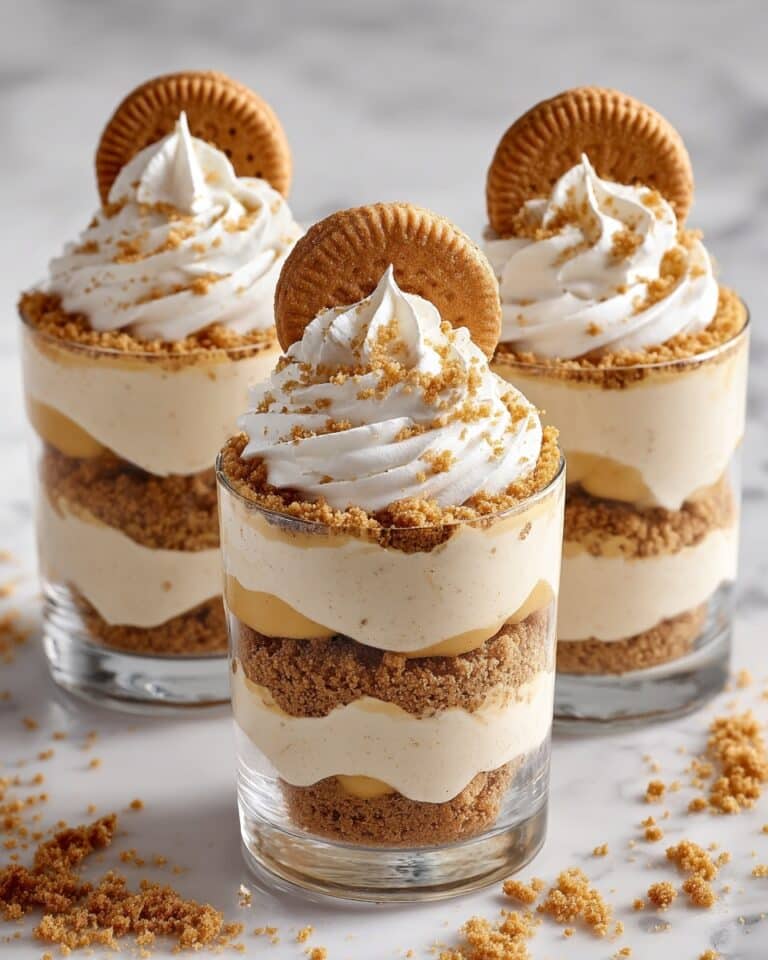
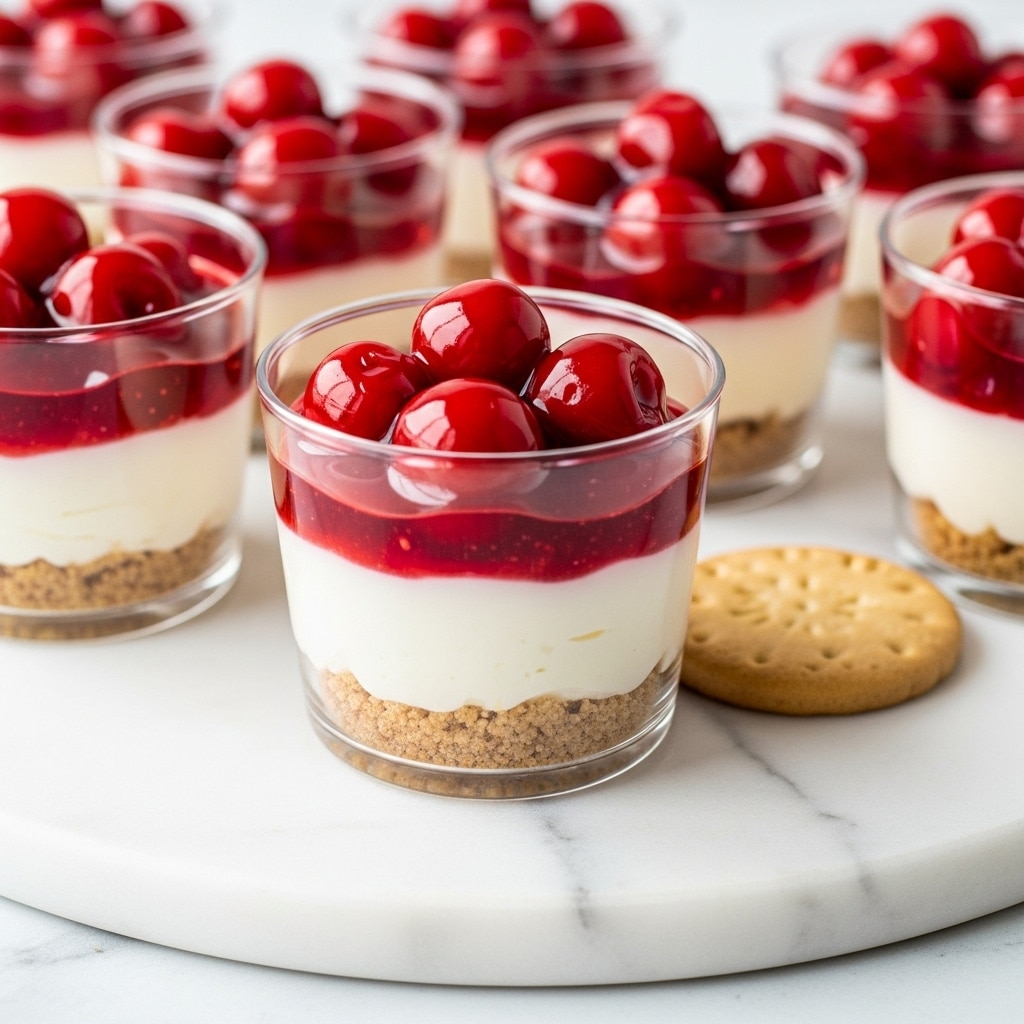
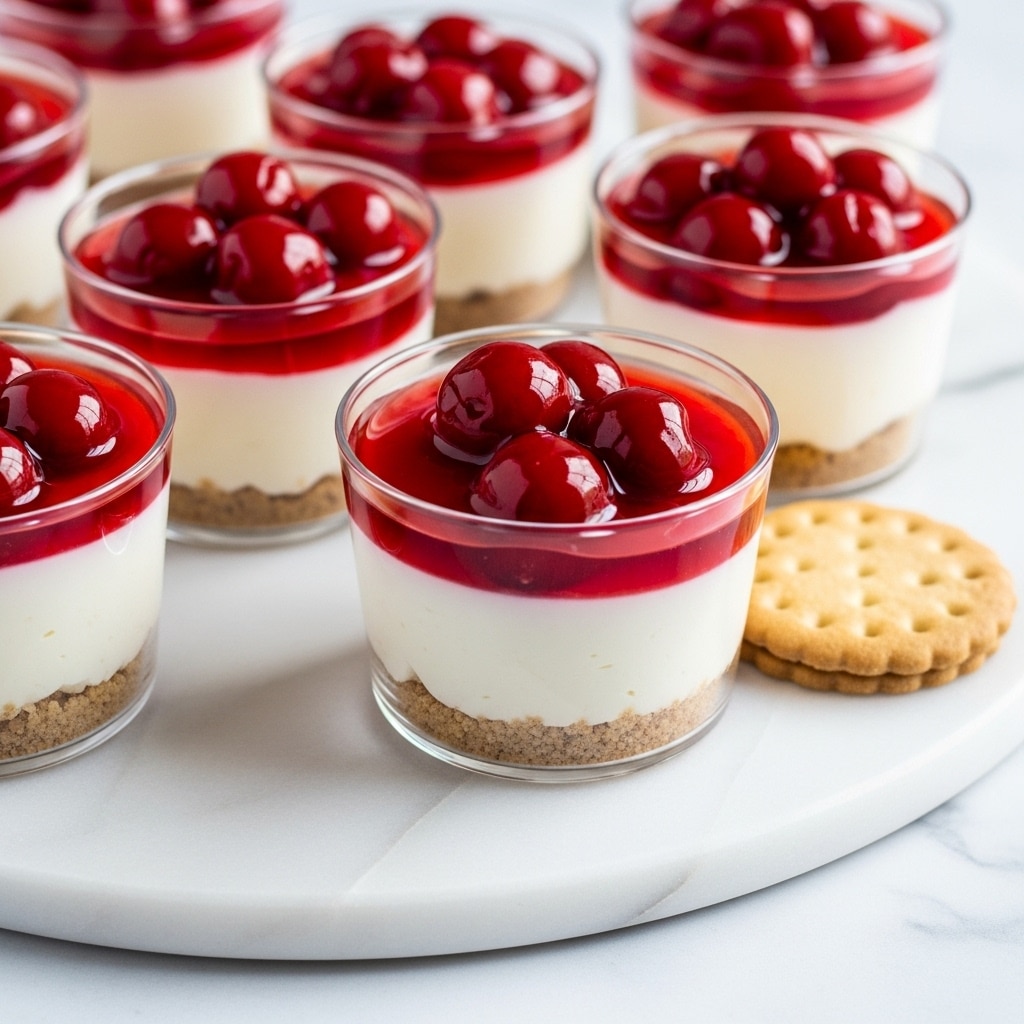
These Easy Cheesecake Cups are a delightful no-bake treat perfect for any occasion. Featuring a creamy cheesecake filling layered over a crispy vanilla wafer base and topped with your favorite fruit pie filling, they combine simple ingredients for impressive results.
Ingredients
- 16 vanilla wafer cookies (or more as needed)
- 16 ounces cream cheese (softened)
- 1 cup powdered sugar
- 1 teaspoon vanilla extract
- 1 cup heavy whipping cream
- ½ teaspoon cornstarch
- 1 can prepared fruit pie filling (cherry, strawberry, or blueberry)
Instructions
- Step 1: Beat the softened cream cheese with an electric mixer until smooth. Add powdered sugar and vanilla extract, then beat until fully combined. Set this mixture aside.
- Step 2: In a medium bowl, beat the heavy whipping cream on low speed for about 1 minute. Add cornstarch, then increase the mixer speed to high and whip for 3 to 4 minutes until stiff peaks form.
- Step 3: Gently fold the whipped cream into the cream cheese mixture until well blended and fluffy.
- Step 4: Place one vanilla wafer cookie at the bottom of each serving cup. Spoon the cheesecake filling into each cup, filling up to about 1 inch from the top.
- Step 5: Top each cup with a generous spoonful of your chosen fruit pie filling. Chill the cups in the refrigerator for at least 1 hour before serving.
Tips & Variations
- For a crunchy addition, sprinkle chopped nuts or graham cracker crumbs on top before chilling.
- Try mixing different pie fillings or fresh fruit to customize flavors.
- If you prefer a firmer texture, refrigerate the cups overnight.
- Use low-fat cream cheese and whipped topping as a lighter alternative.
Storage
Store the cheesecake cups covered in the refrigerator for up to 3 days. Avoid leaving them at room temperature for long periods, as the cream cheese filling can soften. Before serving, you can let them sit for a few minutes to soften slightly or enjoy straight from the fridge.
How to Serve
Serve this delicious recipe with your favorite sides.
FAQs
Can I make these cheesecake cups ahead of time?
Yes, these cups can be prepared and refrigerated up to a day in advance, making them perfect for entertaining or meal prep.
What can I use instead of vanilla wafer cookies?
You can substitute graham crackers or digestive biscuits for the base if you prefer a different flavor or crunch.
PrintEasy Cheesecake Cups Recipe

These Easy Cheesecake Cups are a delightful no-bake dessert featuring creamy cheesecake filling layered over a crunchy vanilla wafer base and topped with sweet fruit pie filling. Perfect for quick preparation and individual servings, these cups combine smooth, fluffy cream cheese mixture with luscious pie topping for a refreshing treat any time of year.
- Prep Time: 15 minutes
- Cook Time: 0 minutes
- Total Time: 1 hour 15 minutes (including chilling time)
- Yield: 8 servings 1x
- Category: Dessert
- Method: No-Cook
- Cuisine: American
- Diet: Vegetarian
Ingredients
Base
- 16 vanilla wafer cookies (or more as needed)
Cheesecake Filling
- 16 ounces cream cheese, softened
- 1 cup powdered sugar
- 1 teaspoon vanilla extract
- 1 cup heavy whipping cream
- ½ teaspoon cornstarch
Topping
- 1 can prepared fruit pie filling (cherry, strawberry, or blueberry)
Instructions
- Prepare Cream Cheese Mixture: Beat the softened cream cheese with an electric mixer until it becomes smooth and creamy. Add powdered sugar and vanilla extract to the bowl, then continue beating until all ingredients are thoroughly combined. Set this mixture aside for later use.
- Whip the Cream: In a medium bowl, beat the heavy whipping cream on low speed for about one minute. Sprinkle in the cornstarch and then increase the mixer speed to high, whipping for an additional 3 to 4 minutes until stiff peaks form. Gently fold the whipped cream into the cream cheese mixture, ensuring a smooth and airy filling.
- Assemble Cups: Place one vanilla wafer cookie on the bottom of each serving cup. Spoon the prepared cheesecake filling into each cup, filling them up to about one inch from the top to leave room for the topping.
- Add Fruit Topping: Spoon the prepared fruit pie filling evenly over the cheesecake filling in each cup, adding as much as desired for flavor and decoration.
- Chill and Serve: Refrigerate the assembled cheesecake cups for at least one hour to allow them to set. Serve chilled and enjoy this easy, individual cheesecake dessert.
Notes
- Make sure the cream cheese is softened to room temperature for easier mixing and a smoother texture.
- Whip the cream to stiff peaks carefully to avoid over-whipping which can cause it to become grainy.
- You can use any flavor of fruit pie filling you like to customize the dessert.
- For a firmer crust layer, slightly crush the vanilla wafers before placing them in the cups.
- This recipe can be made a day ahead and stored covered in the fridge for convenience.
Keywords: cheesecake cups, no bake cheesecake, individual cheesecake dessert, easy cheesecake recipe, fruit cheesecake cups