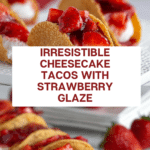
Cheesecake Tacos with Strawberry Glaze Recipe
Introduction
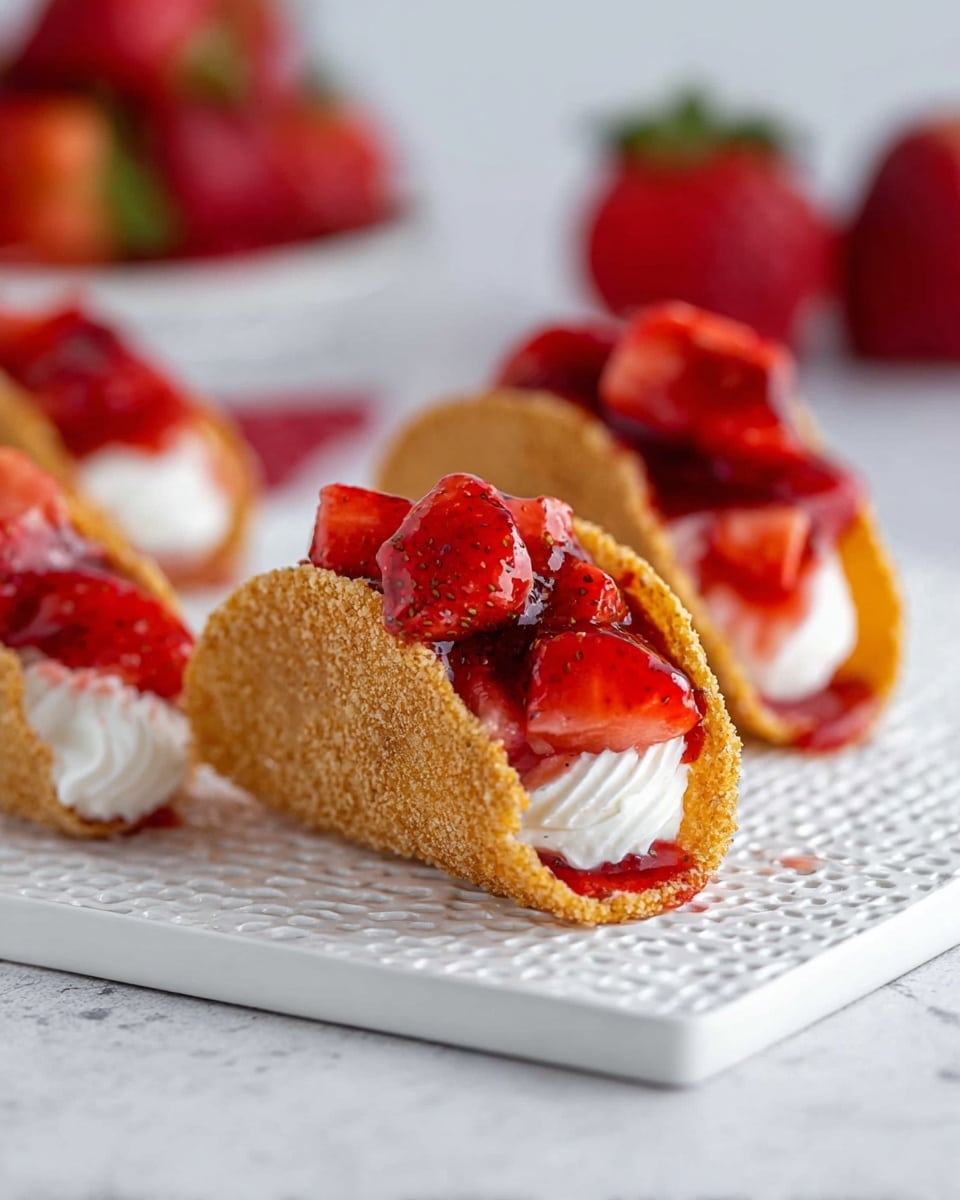
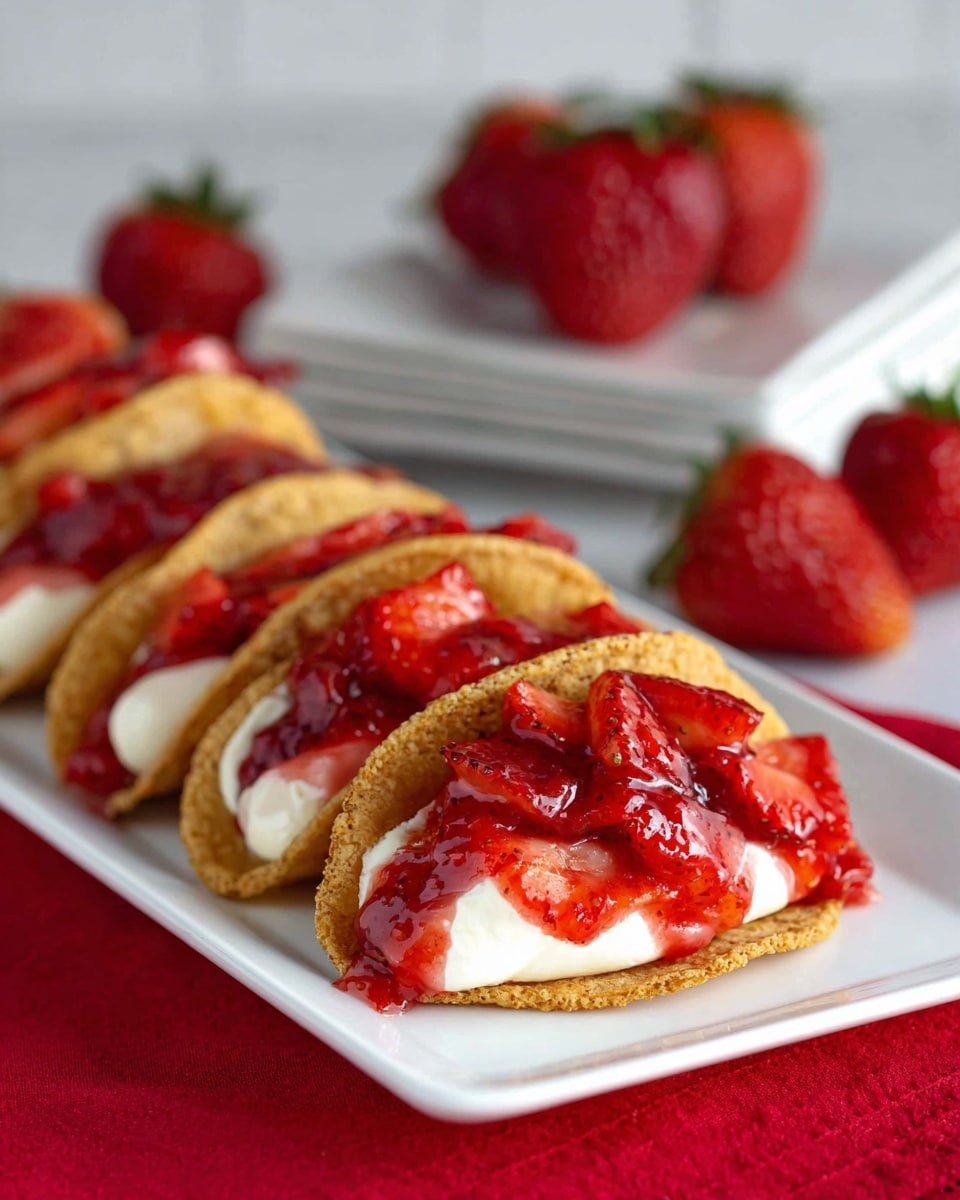
Cheesecake tacos are a fun and delightful twist on a classic dessert. Crisp tortilla shells coated with graham cracker crumbs are filled with a creamy cheesecake mixture and topped with fresh strawberries and glaze. They’re perfect for parties or a special treat any time.
Ingredients
- 7 9-inch tortilla shells
- 1 cup graham cracker crumbs
- 1 1/2 tablespoons granulated sugar
- 1/3 cup butter (melted)
- 8 ounces cream cheese (room temperature)
- 3 tablespoons cheesecake instant pudding mix
- 1 cup heavy whipping cream
- 1/2 cup powdered sugar
- 1 teaspoon vanilla extract
- 1/2 cup chopped strawberries
- 3/4 cup strawberry glaze
Instructions
- Step 1: Preheat the oven to 400 degrees F.
- Step 2: In a shallow dish, combine graham cracker crumbs and granulated sugar.
- Step 3: Using a 3 3/4-inch circle cookie cutter, cut 3 circles from each tortilla shell.
- Step 4: Prick each circle 6 to 7 times on both sides with a fork to prevent air bubbles.
- Step 5: Brush each circle with melted butter, then press both sides gently into the graham cracker mixture to coat.
- Step 6: Fold each coated circle in half to form a taco shape and pinch the seam.
- Step 7: Place an inverted cupcake pan on a baking sheet and position the folded shells staggered between the cups to hold their shape.
- Step 8: Bake the shells for 11 minutes until edges are brown and firm, then remove and cool completely in the pan.
- Step 9: In a large bowl, beat cream cheese until smooth. Add pudding mix, 1/2 cup heavy cream, powdered sugar, and vanilla extract, then blend until combined.
- Step 10: Pour in remaining heavy cream and beat until the mixture is fluffy.
- Step 11: Fill a piping bag fitted with a Wilton 1M tip with the cheesecake filling.
- Step 12: Pipe the filling into each cooled taco shell, starting in the center and moving outwards in a continuous motion.
- Step 13: Mix chopped strawberries and strawberry glaze in a bowl.
- Step 14: Spoon the strawberry topping onto the filled cheesecake tacos.
- Step 15: Serve immediately for best taste and texture.
Tips & Variations
- Use fresh fruit according to the season, such as blueberries or peaches, to change up the topping.
- For a chocolate twist, sprinkle cocoa powder or mini chocolate chips onto the cheesecake filling before adding the fruit topping.
- If you don’t have a piping bag, use a zip-top bag with a small corner cut off to fill the shells.
Storage
Store assembled cheesecake tacos in an airtight container in the refrigerator for up to 2 days. For best results, fill the taco shells just before serving to keep them crisp. Leftover cheesecake filling can be refrigerated for up to 3 days.
How to Serve
Serve this delicious recipe with your favorite sides.
FAQs
Can I make the taco shells ahead of time?
Yes, you can prepare and bake the shells a day ahead. Store them in an airtight container at room temperature to keep them crisp until ready to fill.
What’s the best way to prevent the shells from getting soggy?
Make sure to allow the shells to cool completely before filling, and add the cheesecake filling and toppings just before serving to maintain crispness.
PrintCheesecake Tacos with Strawberry Glaze Recipe

Delightfully crisp and creamy cheesecake tacos featuring homemade graham cracker crust shells filled with a fluffy cheesecake filling and topped with glazed fresh strawberries, perfect for a fun and elegant dessert.
- Prep Time: 20 minutes
- Cook Time: 11 minutes
- Total Time: 31 minutes
- Yield: 21 mini cheesecake tacos 1x
- Category: Dessert
- Method: Baking
- Cuisine: American
- Diet: Vegetarian
Ingredients
Shells
- 7 9-inch tortilla shells
- 1 cup graham cracker crumbs
- 1 1/2 tablespoons granulated sugar
- 1/3 cup butter, melted
Cheesecake Filling
- 8 ounces cream cheese, room temperature
- 3 tablespoons cheesecake instant pudding mix
- 1 cup heavy whipping cream, divided
- 1/2 cup powdered sugar
- 1 teaspoon vanilla extract
Topping
- 1/2 cup chopped strawberries
- 3/4 cup strawberry glaze
Instructions
- Prepare the Shells: Preheat your oven to 400°F (204°C). Combine the graham cracker crumbs and granulated sugar in a shallow dish and stir well. Using a 3 3/4 inch circle cookie cutter, cut three circles out of each 9-inch tortilla shell. Prick both sides of each cut shell 6 to 7 times with a fork to prevent air bubbles during baking.
- Coat the Shells: Brush each small shell thoroughly with melted butter. Then gently press each buttered shell into the graham cracker crumb mixture to coat both sides well. Fold each coated shell in half, creating a seam down the middle.
- Shape and Bake: Invert a cupcake pan and place the folded shells staggered between the cups to hold their taco shape. Bake in the preheated oven for 11 minutes or until the edges turn golden brown and the shells become firm. Remove the pan from the oven and allow the shells to cool completely while still in the pan to maintain their shape.
- Make the Cheesecake Filling: In a large mixing bowl, beat the cream cheese with a hand mixer until smooth and creamy, scraping down the sides as needed. Add the cheesecake instant pudding mix, half of the heavy cream (1/2 cup), powdered sugar, and vanilla extract, then beat until fully incorporated. Pour in the remaining heavy cream and continue beating until the mixture is smooth, fluffy, and holds soft peaks.
- Fill the Taco Shells: Fit a piping bag with a Wilton 1M piping tip and fill it with the cheesecake mixture. Pipe the cheesecake filling into each cooled taco shell by starting in the center, moving to one edge, back to the center, over to the other edge, and back to the center again in one continuous motion. Repeat for all shells until filled.
- Add the Topping: Combine the chopped strawberries and strawberry glaze in a bowl, stirring gently to coat. Spoon this topping generously over the filled cheesecake tacos.
- Serve: Serve the cheesecake tacos immediately to enjoy the perfect balance of creamy filling and crisp shell with fresh fruity topping.
Notes
- Pricking the shells with a fork before baking is essential to prevent bubbling and ensure they bake evenly.
- The inverted cupcake pan helps the shells keep their taco shape perfectly during baking and cooling.
- Use room temperature cream cheese to achieve a smooth, lump-free cheesecake filling.
- Chilling the filled taco shells slightly before serving can help maintain their structure if not served immediately.
- For variation, try using different fruit toppings or glazes like blueberry or peach preserves.
Keywords: cheesecake tacos, graham cracker taco shells, no-bake cheesecake filling, strawberry cheesecake dessert, easy cheesecake recipe, party dessert idea