Cherry Pie Cookie Cups Recipe
Introduction
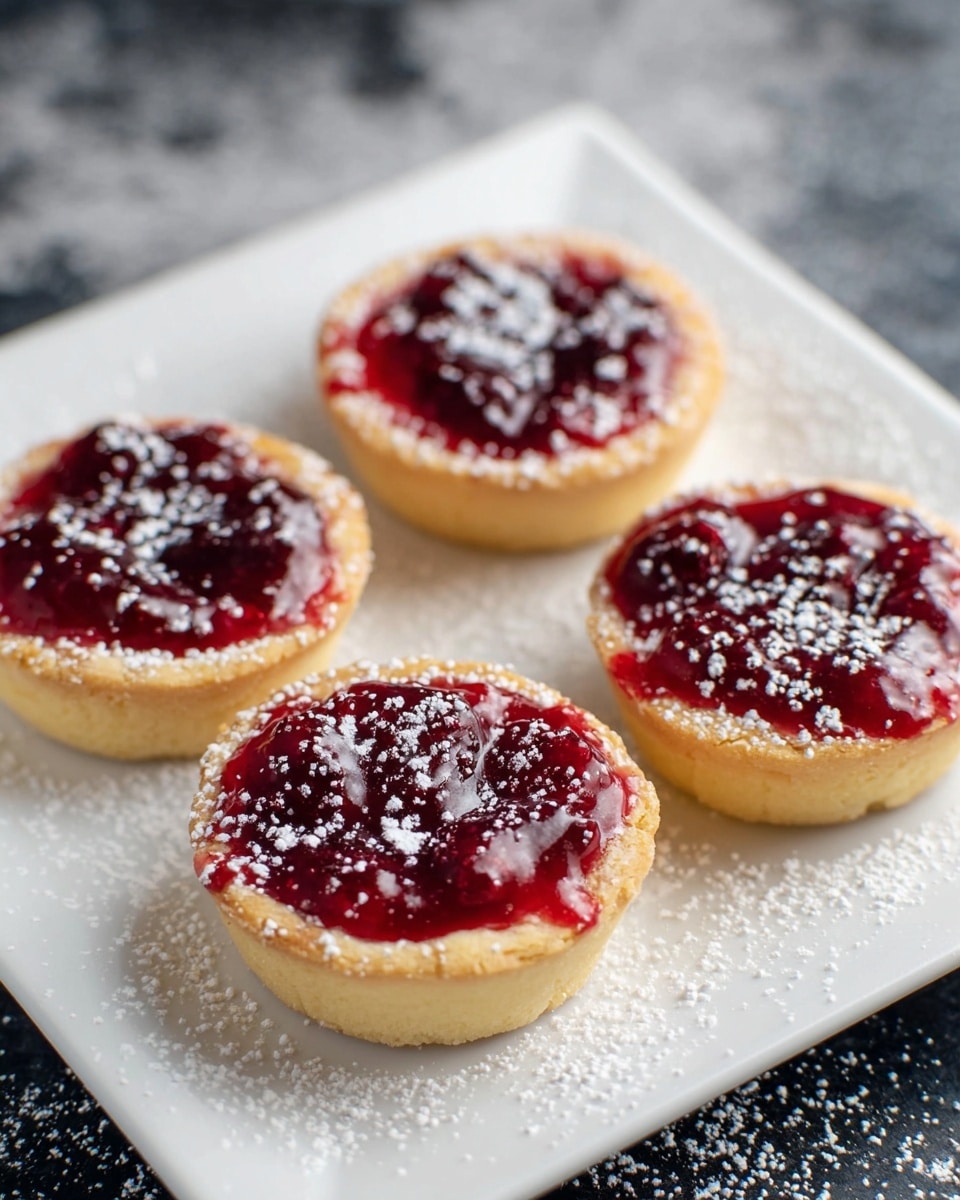
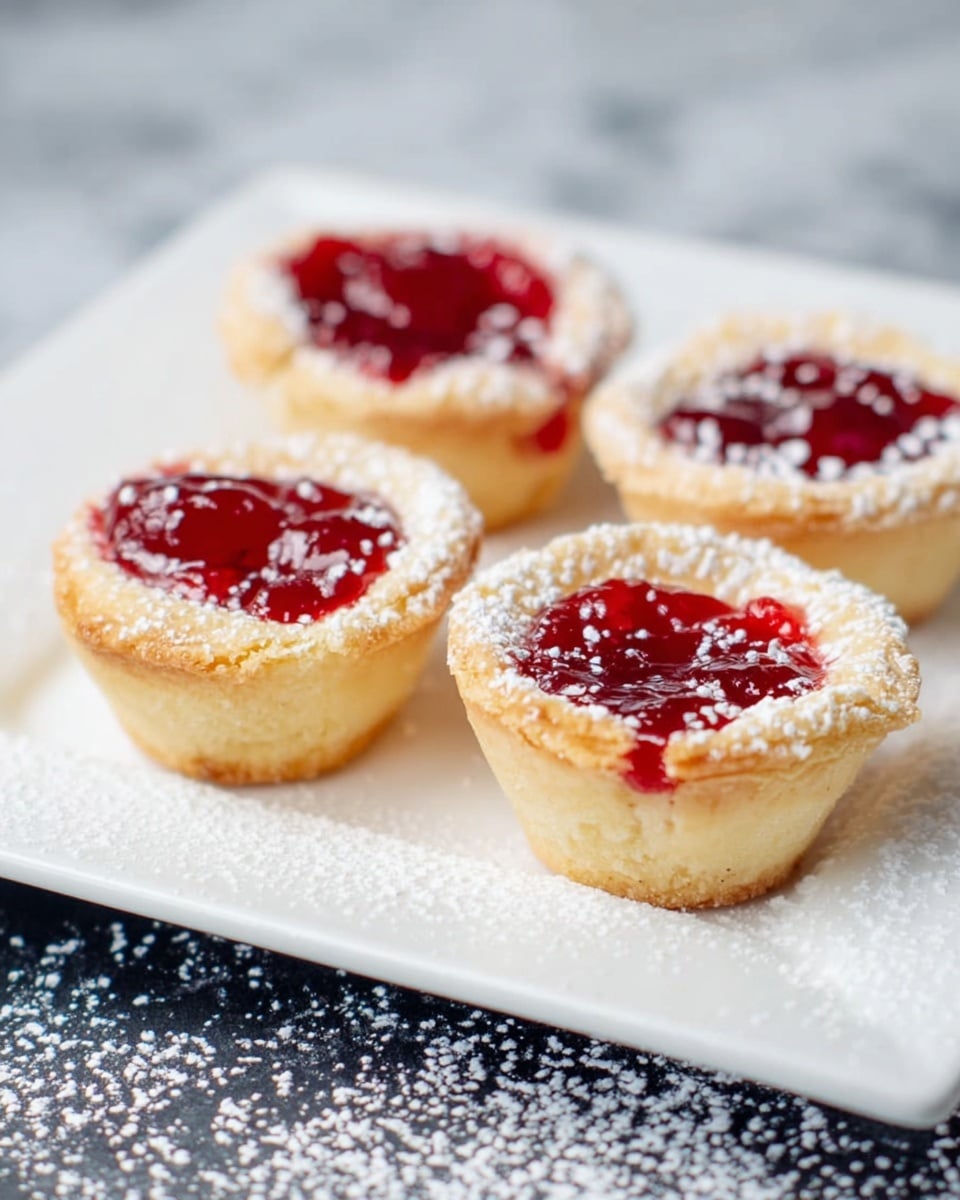
These Cherry Pie Cookie Cups are a delightful twist on classic cherry pie, combining sweet cherry filling with buttery sugar cookie cups. They are easy to make and perfect for parties, potlucks, or a simple dessert treat.
Ingredients
- 16 ounces Cherry Pie filling
- 16 ounces Sugar Cookie Dough
- 1/4 cup Powdered Sugar
- Non-stick Cooking Spray
Instructions
- Step 1: Preheat the oven to 375 degrees F.
- Step 2: Lightly spray a 24-count mini muffin pan with non-stick cooking spray.
- Step 3: Pinch off pieces of sugar cookie dough and roll them into small balls. Place one ball into each of the 24 mini muffin cups.
- Step 4: Bake the cookie dough balls in the oven for 10 minutes.
- Step 5: Remove the pan from the oven and immediately press down in the center of each cookie ball with a pastry tamper to form a cup shape.
- Step 6: Allow the cookie cups to cool completely in the pan.
- Step 7: Spoon cherry pie filling into each cooled cookie cup.
- Step 8: Dust powdered sugar over the filled cookie cups using a sifter or small shaker before serving.
Tips & Variations
- Use a small spoon or mini ice cream scoop for evenly portioned cookie dough balls.
- Substitute cherry pie filling with other fruit fillings like blueberry or apple for variety.
- For extra flavor, add a sprinkle of cinnamon to the cookie dough before baking.
- Allow cookie cups to cool completely before filling to prevent the filling from melting the cookie.
Storage
Store the cherry pie cookie cups in an airtight container at room temperature for up to 2 days. For longer storage, keep them in the refrigerator for up to 5 days. Reheat gently at room temperature before serving, but it’s best enjoyed fresh to maintain the cookie’s texture.
How to Serve
Serve this delicious recipe with your favorite sides.
FAQs
Can I use refrigerated sugar cookie dough for this recipe?
Yes, refrigerated sugar cookie dough works perfectly and makes the process quicker and easier.
How can I make these ahead of time?
Bake and shape the cookie cups in advance, then store them in an airtight container. Fill them with cherry pie filling just before serving to keep the cookies crisp.
PrintCherry Pie Cookie Cups Recipe

Delightfully sweet Cherry Pie Cookie Cups combine the rich flavors of cherry pie filling with soft, buttery sugar cookie dough. Baked in mini muffin tins, these bite-sized treats are perfectly portioned and dusted with powdered sugar for a festive finish. They make an excellent dessert for gatherings, holidays, or anytime you crave a quick, fruity indulgence.
- Prep Time: 10 minutes
- Cook Time: 10 minutes
- Total Time: 20 minutes
- Yield: 24 mini cookie cups 1x
- Category: Dessert
- Method: Baking
- Cuisine: American
Ingredients
Filling
- 16 ounces Cherry Pie filling
Cookie Cups
- 16 ounces Sugar Cookie Dough
- Non-stick Cooking Spray (for greasing pan)
Topping
- 1/4 cup Powdered Sugar
Instructions
- Preheat Oven: Preheat your oven to 375 degrees Fahrenheit to ensure an even baking temperature for the cookie cups.
- Prepare Muffin Pan: Lightly spray a 24-count mini muffin pan with non-stick cooking spray to prevent the cookie dough from sticking.
- Form Cookie Dough Balls: Pinch off pieces of sugar cookie dough and roll each into small, even-sized balls. Place one ball into each mini muffin cup, ensuring they fit well.
- Bake Dough Balls: Place the muffin pan in the preheated oven and bake the cookie dough balls for 10 minutes until they are just set and lightly golden.
- Create Cookie Cups: Remove the pan from the oven and immediately press down the center of each baked cookie with a pastry tamper or similar tool to form a cup shape.
- Cool Cookie Cups: Allow the cookie cups to cool completely in the pan so they hold their shape before adding the filling.
- Fill with Cherry Pie Filling: Spoon the cherry pie filling generously into each cooled cookie cup, filling to just below the rim.
- Dust with Powdered Sugar: Using a sifter or small shaker, sprinkle powdered sugar over the filled cookie cups for a sweet and attractive finish.
Notes
- For best results, use pre-made sugar cookie dough or homemade dough chilled for easier handling.
- If a pastry tamper is not available, use the back of a small spoon or a similarly shaped tool to press the cookie cups.
- Allow cookie cups to cool completely before filling to prevent the cherry pie filling from melting the cookie.
- These cookie cups can be stored in an airtight container at room temperature for up to 2 days.
- Try different pie fillings such as blueberry, apple, or peach for variety.
Keywords: Cherry Pie Cookie Cups, mini dessert, sugar cookie dough, cherry pie filling, holiday treats, easy dessert, bite-sized cookies