Grilled Cheese Roll-Ups Recipe
Introduction
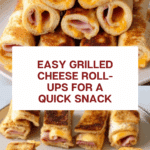
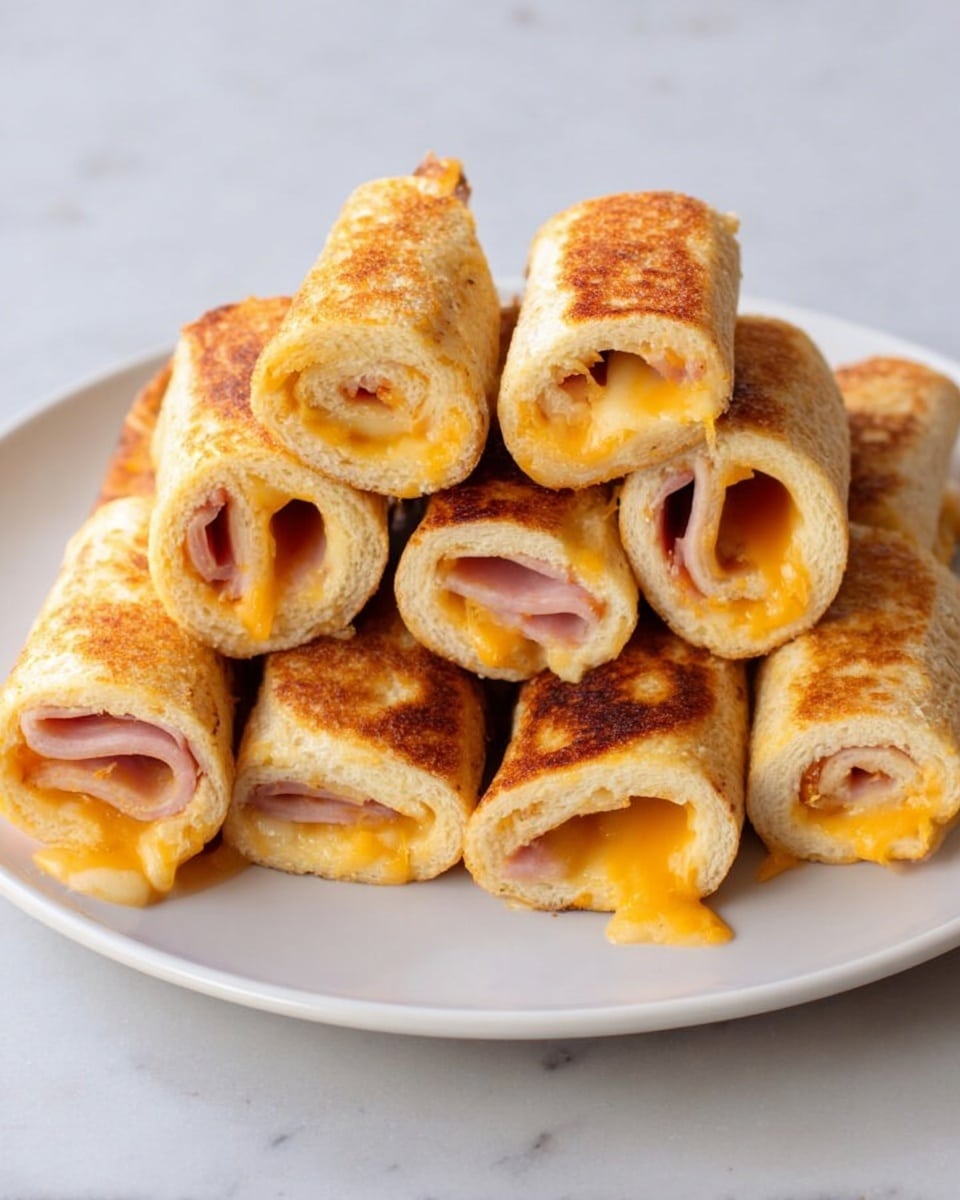
Grilled Cheese Roll-Ups are a fun and easy twist on the classic sandwich. Perfect for a quick snack or a light meal, these roll-ups are crispy on the outside and gooey inside. You can customize them with your favorite cheese and add ham for extra flavor.
Ingredients
- 6 slices of bread
- 1 cup thinly shredded cheese (any kind you prefer)
- 6 thinly sliced pieces of ham (optional)
- 2 tablespoons of butter
Instructions
- Step 1: Trim the crust off each bread slice.
- Step 2: Roll the bread slices flat using a rolling pin or your hands.
- Step 3: Place shredded cheese on each flattened bread slice. Add a slice of ham if you like.
- Step 4: Roll up each bread slice tightly. Use toothpicks to secure them if needed.
- Step 5: Heat a skillet over medium to medium-low heat and add the butter.
- Step 6: Place the roll-ups seam side down in the skillet and cook for 5 to 8 minutes, turning them occasionally so they brown evenly.
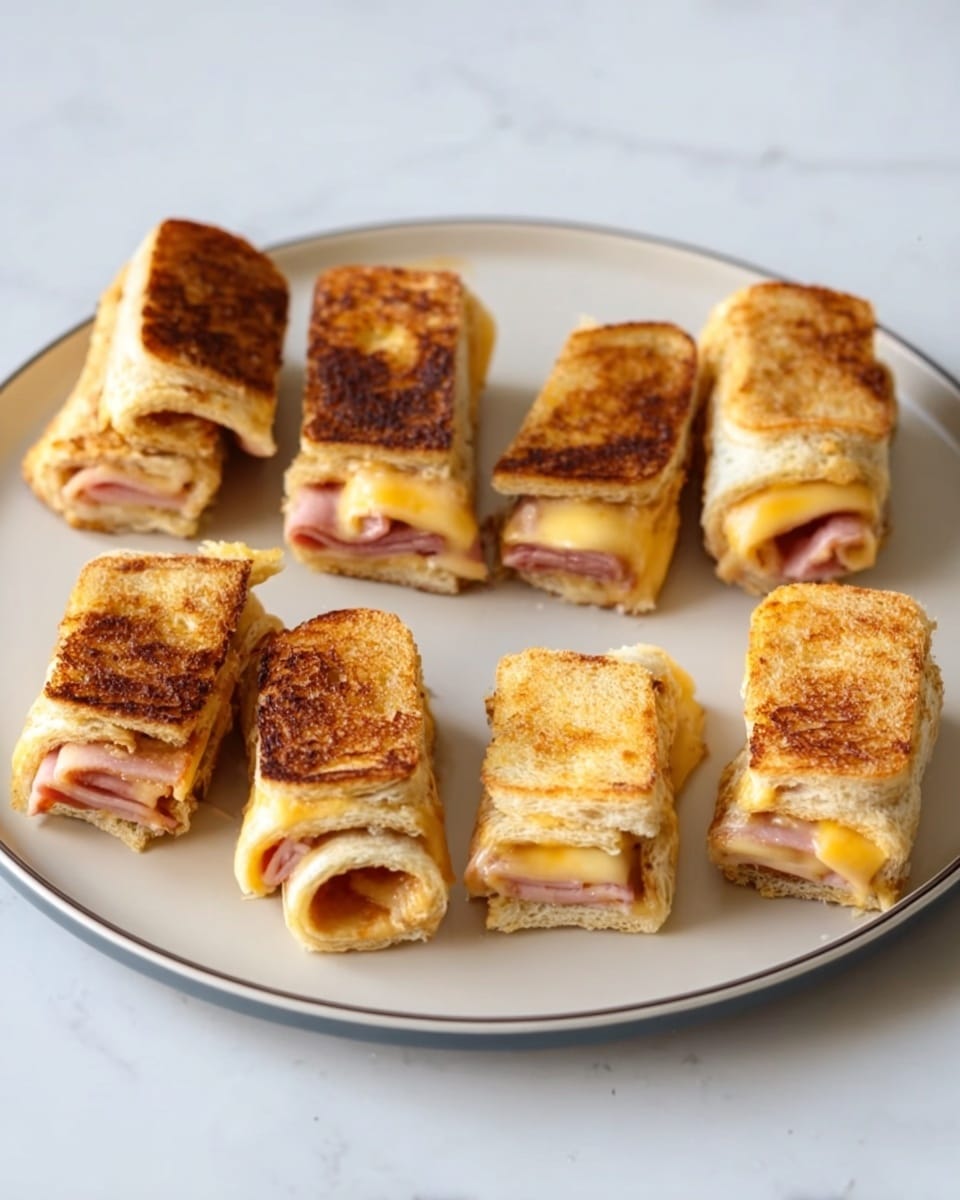
- Step 7: Remove from the skillet, cut in half if desired, and serve warm.
Tips & Variations
- Try different cheeses like cheddar, mozzarella, or American for varied flavors.
- Add fresh herbs such as basil or oregano inside the roll-ups for an aromatic touch.
- If you don’t have a rolling pin, use a clean bottle to flatten the bread.
Storage
Store any leftover roll-ups in an airtight container in the refrigerator for up to 2 days. Reheat them in a skillet over low heat or in the oven to keep them crispy. Avoid microwaving to prevent sogginess.
How to Serve
Serve this delicious recipe with your favorite sides.
FAQs
Can I make these roll-ups ahead of time?
Yes, you can assemble the roll-ups and keep them covered in the refrigerator for a few hours before cooking. Just cook them fresh to maintain the crispy texture.
What can I use instead of bread crusts?
If you prefer, you can use tortillas or thin flatbreads to make these roll-ups for a different texture and easier rolling.
PrintGrilled Cheese Roll-Ups Recipe

Grilled Cheese Roll-Ups are a quick and delicious twist on the classic grilled cheese sandwich. With simple ingredients like bread, shredded cheese, and optional ham, these roll-ups are buttered, cooked in a skillet until golden brown, and perfect as a snack or light meal.
- Prep Time: 10 minutes
- Cook Time: 8 minutes
- Total Time: 18 minutes
- Yield: 6 roll-ups 1x
- Category: Snack
- Method: Frying
- Cuisine: American
- Diet: Low Fat
Ingredients
Main Ingredients
- 6 slices of bread
- 1 cup thinly shredded cheese (cheddar, American, or your favorite)
- 6 thinly sliced pieces of ham (optional)
- 2 tablespoons butter
Instructions
- Trim the bread: Remove the crusts from the bread slices to create a soft surface that’s easier to roll.
- Roll the bread: Using a rolling pin or your hands, flatten each slice of bread to make it thinner and more pliable for rolling.
- Add cheese and ham: Place shredded cheese evenly over each slice of bread. Add a slice of ham on top if desired for extra flavor.
- Roll it up: Tightly roll each slice into a log shape. Secure with toothpicks if needed to hold the roll together during cooking.
- Prepare skillet and butter: Heat a skillet over medium to medium-low heat. Add the butter and let it melt, coating the pan evenly.
- Cook the roll-ups: Place the roll-ups seam side down in the skillet. Cook for 5 to 8 minutes, turning them often with tongs to brown them evenly all around.
- Serve: Remove the roll-ups from the skillet, cut in half if desired, and serve warm as a delicious snack or meal.
Notes
- You can substitute the shredded cheese with slices of American cheese for a different texture.
- Ham is optional; you can omit it to make the roll-ups vegetarian.
- Be careful when flipping to keep the rolls intact.
- Use toothpicks to secure the rolls if they loosen while cooking.
- Serve immediately for the best melty cheese experience.
Keywords: grilled cheese roll-ups, cheesy snack, quick snack, fried cheese roll-ups, ham and cheese roll-ups