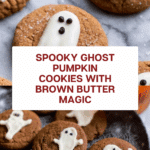
Spooky Ghost Brown Butter Pumpkin Cookies Recipe
Introduction
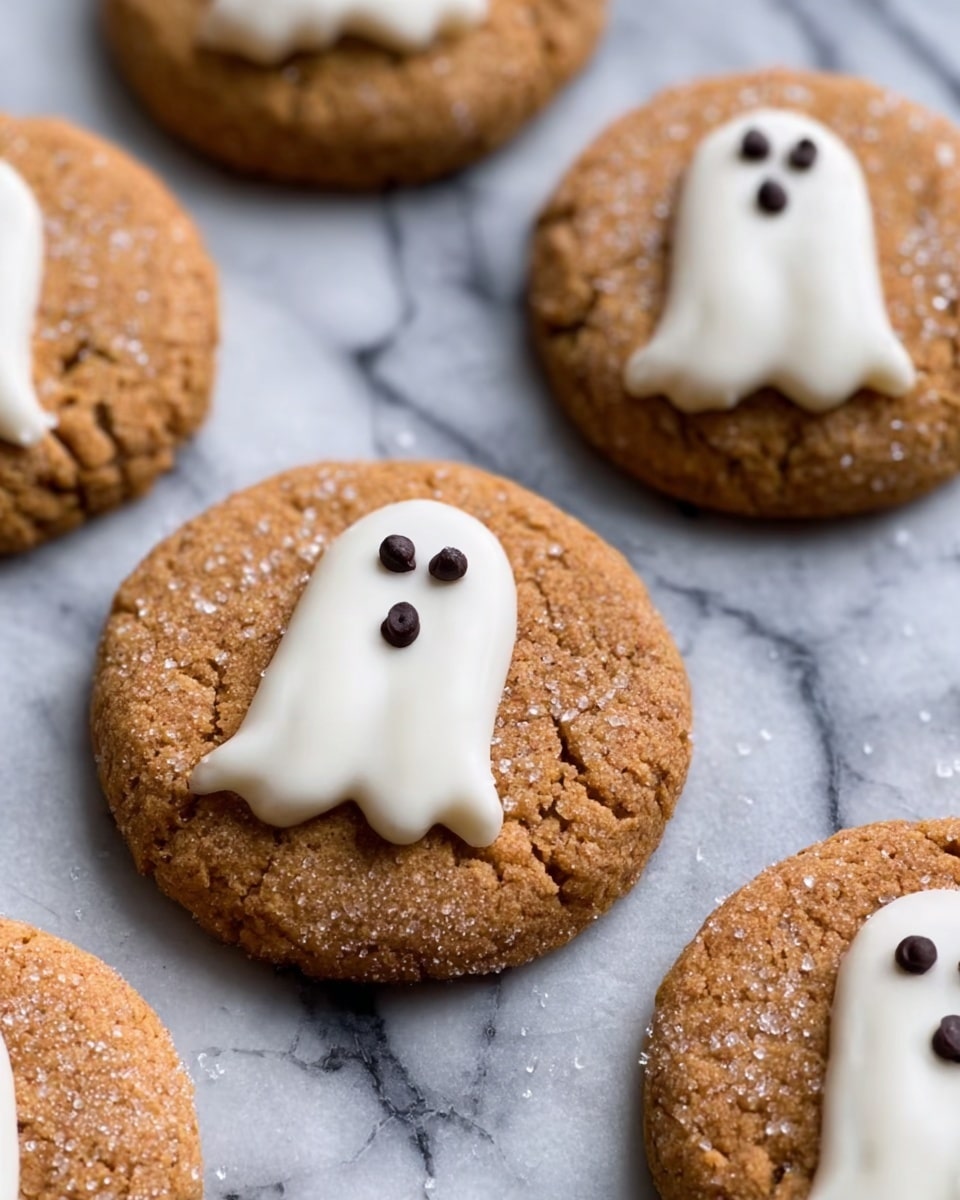
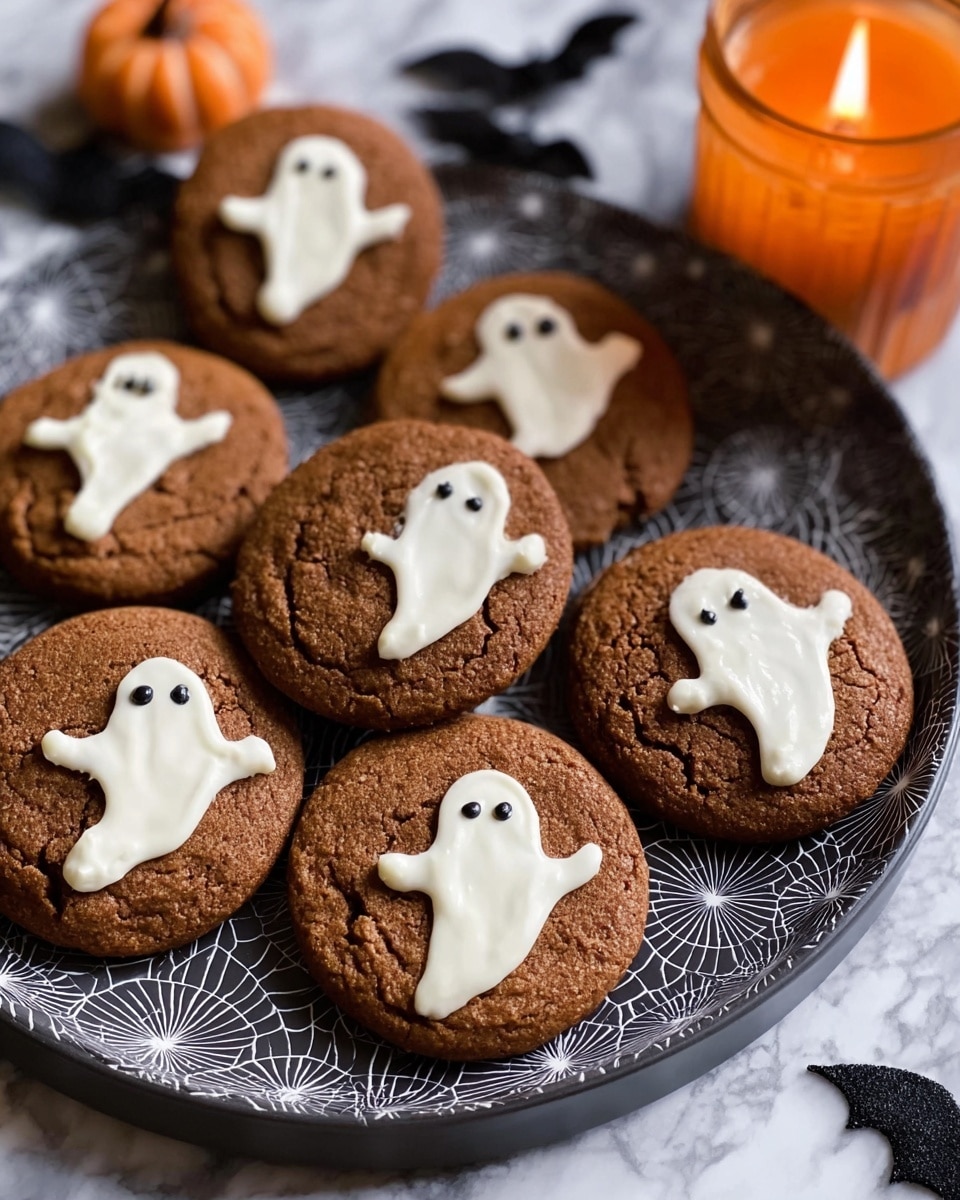
These Spooky Ghost Brown Butter Pumpkin Cookies are a fun and festive treat perfect for Halloween. Soft and chewy pumpkin cookies are transformed with a simple white chocolate ghost decoration and black candy melt features, making them both delicious and adorable.
Ingredients
- 1 batch Brown Butter and Maple Chewy Pumpkin Cookies (recipe from Butternut Bakery)
- White chocolate (such as Ghirardelli melting wafers)
- Black candy melts
- Piping bag
- Medium cookie scoop
- Light colored baking pans
Instructions
- Step 1: Bake the pumpkin cookies according to the recipe and allow them to fully cool before decorating.
- Step 2: Melt your white chocolate of choice in a microwave or double boiler until smooth.
- Step 3: Spoon a small dollop of the melted white chocolate onto each cooled cookie.
- Step 4: Using the back of a small spoon, gently press and slowly drag the chocolate down to create a ghost shape. Practice on parchment paper first to get comfortable with the technique.
- Step 5: Let the white chocolate harden completely before moving on.
- Step 6: Melt the black candy melts in a microwave-safe container, then transfer to a piping bag. Cut a small tip off the corner for precise piping.
- Step 7: Pipe small dots with the black candy melts onto the white ghost shapes to form eyes and a mouth.
- Step 8: Allow the black candy melts to dry fully, then enjoy your festive ghost cookies!
Tips & Variations
- Practice dragging the white chocolate on parchment paper before decorating cookies to perfect the ghost shape.
- For a colorful twist, try using colored candy melts for the eyes and mouth.
- If you don’t have a piping bag, a zip-top bag with a small corner snipped off works well.
- Use light-colored baking pans to ensure even baking and prevent over-browning.
Storage
Store the decorated cookies in an airtight container at room temperature for up to 4 days. If your kitchen is warm, refrigeration is recommended to keep the candy melts firm, but bring cookies back to room temperature before serving for best texture. Avoid stacking cookies to prevent smudging the decorations.
How to Serve
Serve this delicious recipe with your favorite sides.
FAQs
Can I use regular chocolate instead of melting wafers?
Regular chocolate can work, but melting wafers are designed to melt smoothly without seizing and harden with a nice sheen, making them easier to work with for decorating.
How do I prevent the white chocolate from melting on the cookies?
Make sure the cookies are completely cooled before adding the white chocolate, and let the chocolate set in a cool, dry place. Avoid touching the decorated surface until fully hardened.
PrintSpooky Ghost Brown Butter Pumpkin Cookies Recipe
These Spooky Ghost Brown Butter Pumpkin Cookies are a delightful autumn treat combining moist, chewy pumpkin cookies with a rich brown butter flavor. Adorned with white chocolate ghost shapes and detailed with black candy melt features, these festive cookies are perfect for Halloween celebrations or seasonal gatherings.
- Prep Time: 20 minutes
- Cook Time: 15 minutes
- Total Time: 35 minutes
- Yield: 24 cookies 1x
- Category: Dessert
- Method: Baking
- Cuisine: American
- Diet: Vegetarian
Ingredients
Cookies
- 1 batch Brown Butter and Maple Chewy Pumpkin Cookies by Butternut Bakery
Decorations
- White chocolate (such as Ghirardelli melting wafers) – for ghost shapes
- Black candy melts – for eyes and mouth
- Piping bag or ziplock bag – for piping black candy melts
Equipment
- Medium cookie scoop
- Light colored baking pans
- Spoon (small, for shaping ghost)
Instructions
- Bake the Pumpkin Cookies: Prepare and bake the Brown Butter and Maple Chewy Pumpkin Cookies according to the original recipe directions. Once baked, allow them to cool completely on a wire rack.
- Melt the White Chocolate: Gently melt your white chocolate using a double boiler or microwave, stirring frequently to ensure smoothness and prevent burning. Use a high-quality melting wafer like Ghirardelli for best results.
- Create Ghost Shapes: Place a small dollop of the melted white chocolate onto a fully cooled cookie. Using the back of a small spoon, apply gentle pressure and slowly drag the spoon downward to form an elongated ghost shape. Practice on parchment paper beforehand to perfect your technique.
- Harden the White Chocolate: Allow the white chocolate ghosts to cool and harden completely. You can speed up this process by placing cookies in the refrigerator for about 10-15 minutes.
- Prepare Black Candy Melts: Melt black candy melts in a microwave-safe container, heating in short 20-30 second intervals and stirring in between to avoid overheating.
- Pipe Eyes and Mouth: Pour the melted black candy into a piping bag or a sturdy ziplock bag. Cut a very small tip off the corner and carefully pipe small dots on the white chocolate ghosts to create eyes and a mouth.
- Let Candy Melts Dry: Allow the black candy melt features to fully dry and set before handling or serving the cookies.
- Serve and Enjoy: Arrange your spooky ghost pumpkin cookies on a festive platter and enjoy a fun and delicious seasonal treat.
Notes
- Ensure pumpkin cookies are completely cooled before decorating to prevent melting of chocolate.
- Practice drawing ghost shapes on parchment paper before applying on cookies.
- If white chocolate lumps or seizes, add a small amount of vegetable oil or cocoa butter to smooth it.
- Store decorated cookies in an airtight container at room temperature for up to 3 days.
- For a vegan version, use vegan pumpkin cookies and dairy-free chocolate melts.
Keywords: pumpkin cookies, brown butter pumpkin cookies, Halloween cookies, ghost cookies, white chocolate cookies, fall dessert, spooky cookies