The Best Cocoa Fudge Brownies Recipe
Introduction
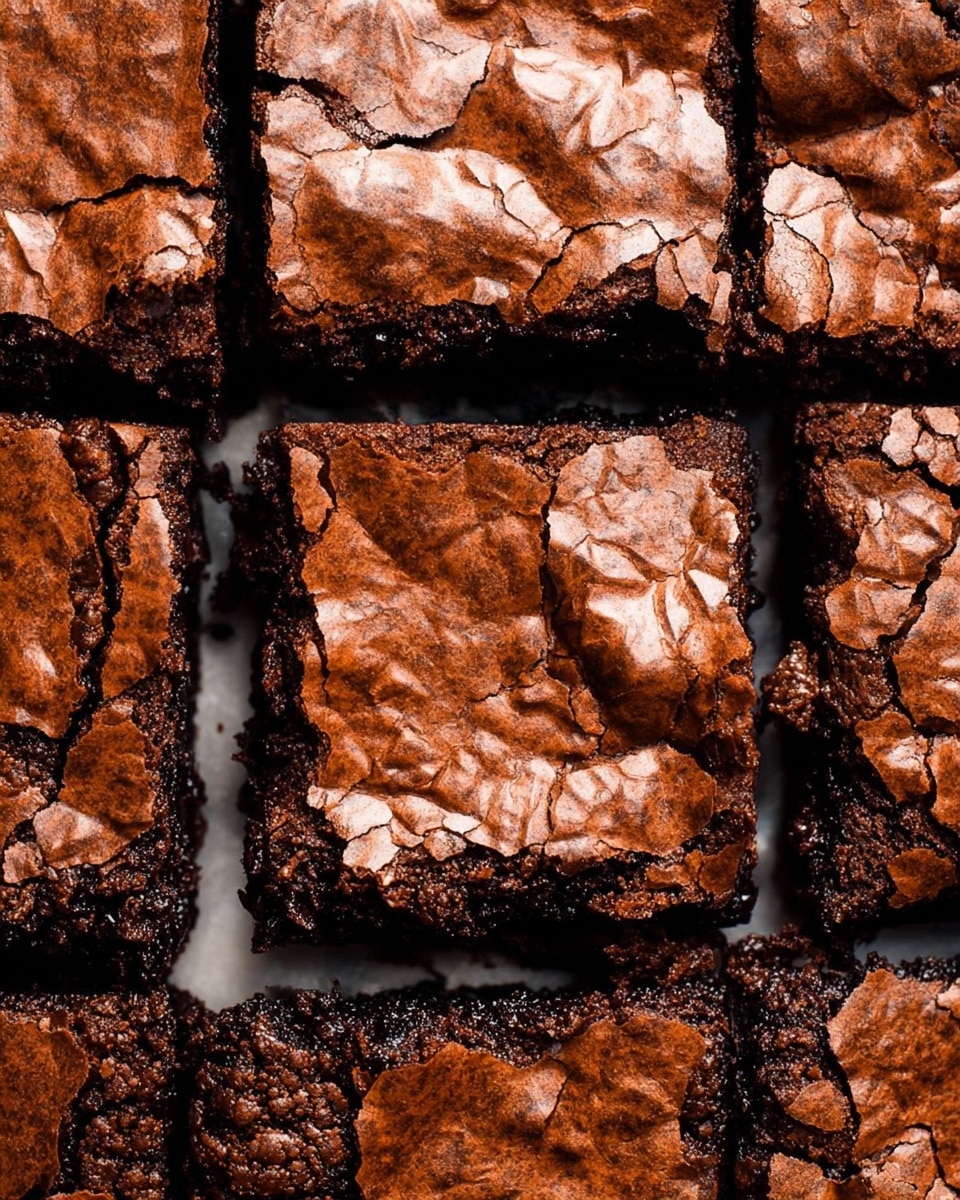
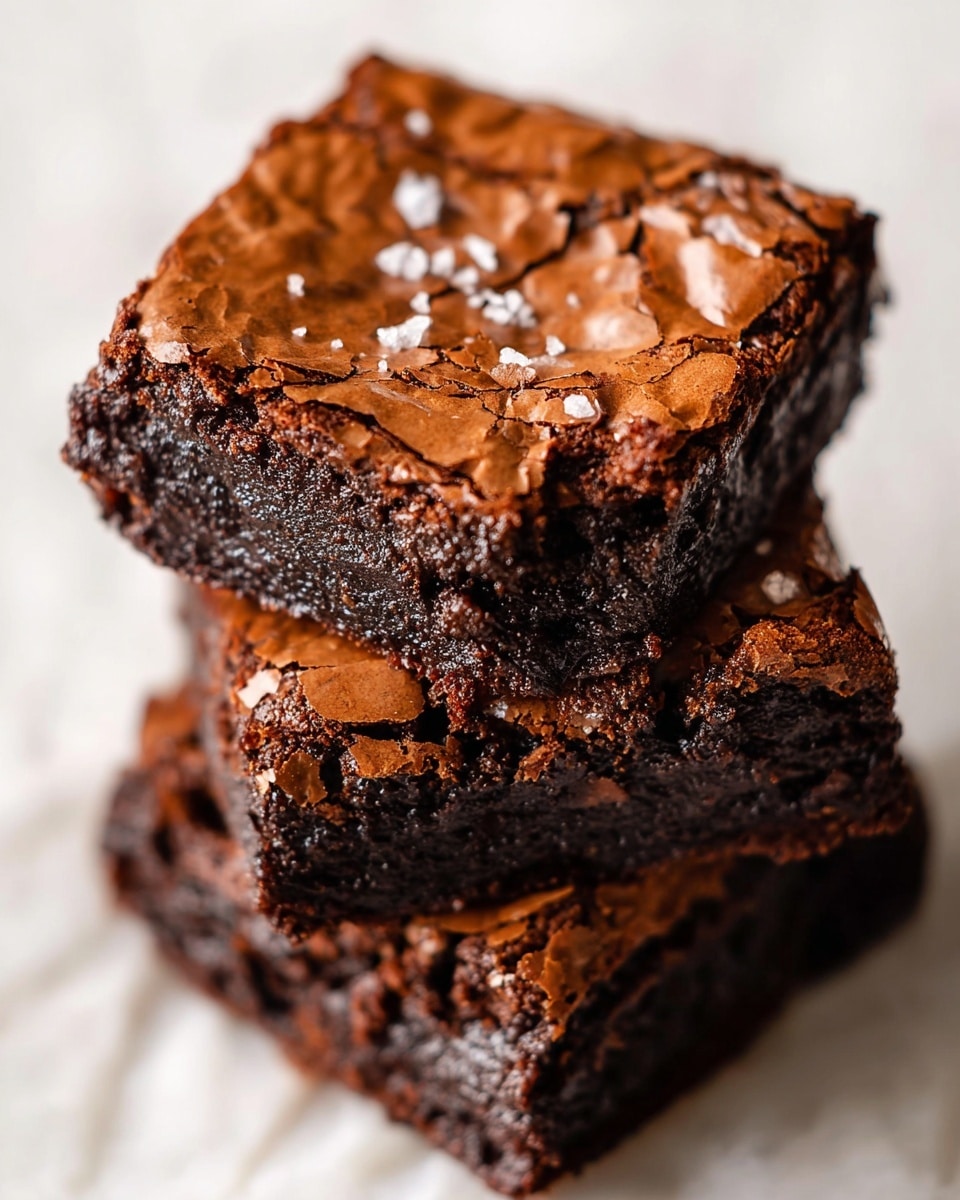
These Best Cocoa Fudge Brownies are rich, decadent, and perfectly fudgy. Made with a blend of cocoa and chocolate chips, they offer an intense chocolate flavor in every bite. Whether for a special occasion or an everyday treat, these brownies never disappoint.
Ingredients
- 1 cup (120g) all-purpose flour
- 1/2 teaspoon baking powder
- 1/2 teaspoon salt
- 1/2 cup (43g) unsweetened cocoa powder
- 1 teaspoon espresso powder (optional, omit if you don’t like coffee)
- 3/4 cup (170g) unsalted butter
- 2 tablespoons (28ml) oil (canola, vegetable, or coconut oil)
- 1 and 1/3 cups (265g) granulated sugar, divided
- 2 large eggs
- 1 large egg yolk
- 2 teaspoons vanilla extract (optional, but recommended)
- 3/4 cup (128g) chocolate chips
Instructions
- Step 1: Preheat your oven to 350°F (175°C). Line a 9×9-inch baking pan with parchment paper, then lightly spray it with non-stick baking spray and set aside.
- Step 2: In a large bowl, sift together the flour, baking powder, salt, cocoa powder, and espresso powder. Set this dry mix aside.
- Step 3: In a medium saucepan, combine the butter, oil, and 1/3 cup of the sugar. Heat over medium heat, stirring frequently until the butter is fully melted. Remove from heat.
- Step 4: In a large mixing bowl, whisk together the eggs, egg yolk, vanilla extract (if using), and the remaining sugar until well combined, about 30 seconds.
- Step 5: Slowly pour the warm butter mixture into the egg mixture, a little at a time, whisking constantly until fully incorporated.
- Step 6: Add the dry ingredients and chocolate chips to the wet mixture. Using a rubber spatula, gently fold just until combined. Be careful not to over mix — the batter should still look slightly streaky.
- Step 7: Pour the batter into the prepared pan, smoothing the top evenly.
- Step 8: Bake for 28 to 30 minutes, or until the edges are firm and the top has a shiny, slightly cracked surface.
- Step 9: Remove the pan from the oven and let the brownies cool completely on a wire rack before slicing to achieve clean cuts.
Tips & Variations
- For extra fudgy brownies, avoid over mixing the batter once the dry ingredients are added.
- Try swapping chocolate chips for chopped nuts or white chocolate chips for a different texture and flavor.
- If you prefer a more intense coffee flavor, add a teaspoon of brewed espresso instead of espresso powder.
- Use parchment paper with an overhang for easy removal of brownies from the pan.
Storage
Store cooled brownies in an airtight container at room temperature for up to 4 days. For longer storage, freeze brownies wrapped tightly in plastic wrap and foil for up to 3 months. To reheat, thaw at room temperature and warm slightly in the microwave if desired.
How to Serve
Serve this delicious recipe with your favorite sides.
FAQs
Can I use Dutch-processed cocoa instead of natural cocoa powder?
Yes, Dutch-processed cocoa can be used but it is less acidic and may change the texture slightly. It generally results in a richer, smoother flavor.
Why is espresso powder added to brownie recipes?
Espresso powder enhances the chocolate flavor, making it taste deeper and more intense, while not imparting a strong coffee taste if used in small amounts.
PrintThe Best Cocoa Fudge Brownies Recipe

Delight in the rich, fudgy texture and deep chocolate flavor of these best-ever cocoa fudge brownies. Perfectly balanced sweetness, infused with espresso powder for a subtle coffee depth, and studded with chocolate chips, these brownies bake up moist and irresistible in a 9×9-inch pan. Whether for a casual treat or special occasion, this easy-to-follow recipe guarantees decadent homemade brownies that stay fudgy and flavorful with a glossy, crackly top.
- Prep Time: 15 minutes
- Cook Time: 30 minutes
- Total Time: 45 minutes
- Yield: 16 brownies (1.5-inch squares) 1x
- Category: Dessert
- Method: Baking
- Cuisine: American
Ingredients
Dry Ingredients
- 1 cup (120g) all-purpose flour
- 1/2 teaspoon baking powder
- 1/2 teaspoon salt
- 1/2 cup (43g) unsweetened cocoa powder
- 1 teaspoon espresso powder (optional, omit if you don’t like coffee)
Wet Ingredients
- 3/4 cup (170g) unsalted butter
- 2 Tablespoons (28ml) oil (canola, vegetable, or coconut)
- 2 large eggs
- 1 large egg yolk
- 2 teaspoons vanilla extract (optional, but recommended)
Sugar
- 1 and 1/3 cups (265g) granulated sugar (divided)
Add-ins
- 3/4 cup (128g) chocolate chips
Instructions
- Preheat and Prepare Pan: Preheat your oven to 350°F (175°C). Line a 9×9-inch baking pan with parchment paper, then lightly spray it with non-stick baking spray to ensure easy removal of the brownies.
- Mix Dry Ingredients: In a large bowl, sift together the all-purpose flour, baking powder, salt, unsweetened cocoa powder, and espresso powder. Set this dry mixture aside for later use.
- Melt Butter and Combine with Oil and Sugar: In a medium saucepan over medium heat, combine the unsalted butter, oil, and one-third of the granulated sugar. Stir frequently until the butter is completely melted, then remove the pan from heat.
- Whisk Eggs and Remaining Sugar: In a large mixing bowl, whisk together the eggs, egg yolk, vanilla extract (if using), and the remaining two-thirds of the granulated sugar until the mixture is smooth and well combined, about 30 seconds.
- Combine Warm Butter Mixture with Eggs: Gradually pour the warm butter mixture into the egg mixture, a little at a time, whisking constantly to combine fully and prevent cooking the eggs.
- Incorporate Dry Ingredients and Chocolate Chips: Add the sifted dry ingredients and chocolate chips to the wet mixture. Using a rubber spatula, gently fold together until just combined, taking care not to over mix to maintain a fudgy texture.
- Transfer Batter to Pan: Scrape the batter into the prepared baking pan and smooth the top evenly with your spatula.
- Bake the Brownies: Bake in the preheated oven for 28 to 30 minutes, or until the edges are firm, and the top appears shiny and slightly cracked.
- Cool and Serve: Remove the pan from the oven and place it on a cooling rack. Allow the brownies to cool completely before slicing into squares to serve.
Notes
- Optional espresso powder enhances chocolate flavor but can be omitted if you prefer no coffee taste.
- Do not over mix the batter after adding dry ingredients to avoid cakey brownies; stop stirring once the last streak of flour disappears.
- Using parchment paper makes removing the brownies easier and helps with clean slicing.
- Butter and oil combination helps achieve a moist, fudgy texture.
- For a nutty variation, consider folding in chopped walnuts or pecans with the chocolate chips.
- Store brownies in an airtight container at room temperature for up to 3 days or refrigerate for up to a week.
Keywords: cocoa fudge brownies, best brownies recipe, chocolate brownies, fudgy brownies, homemade brownies, easy brownie recipe