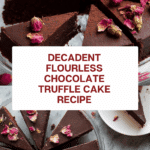
Flourless Chocolate Truffle Cake Recipe
Introduction
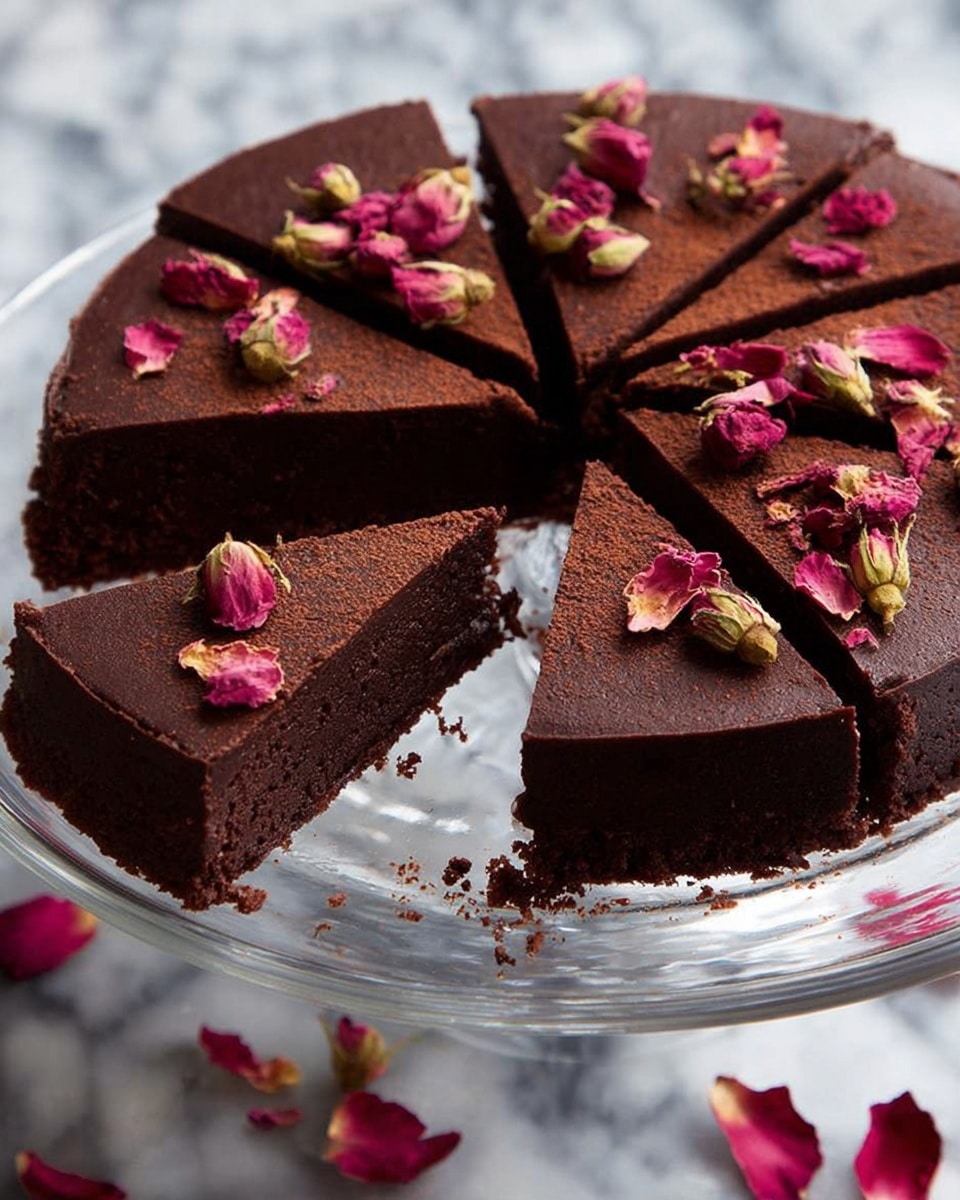
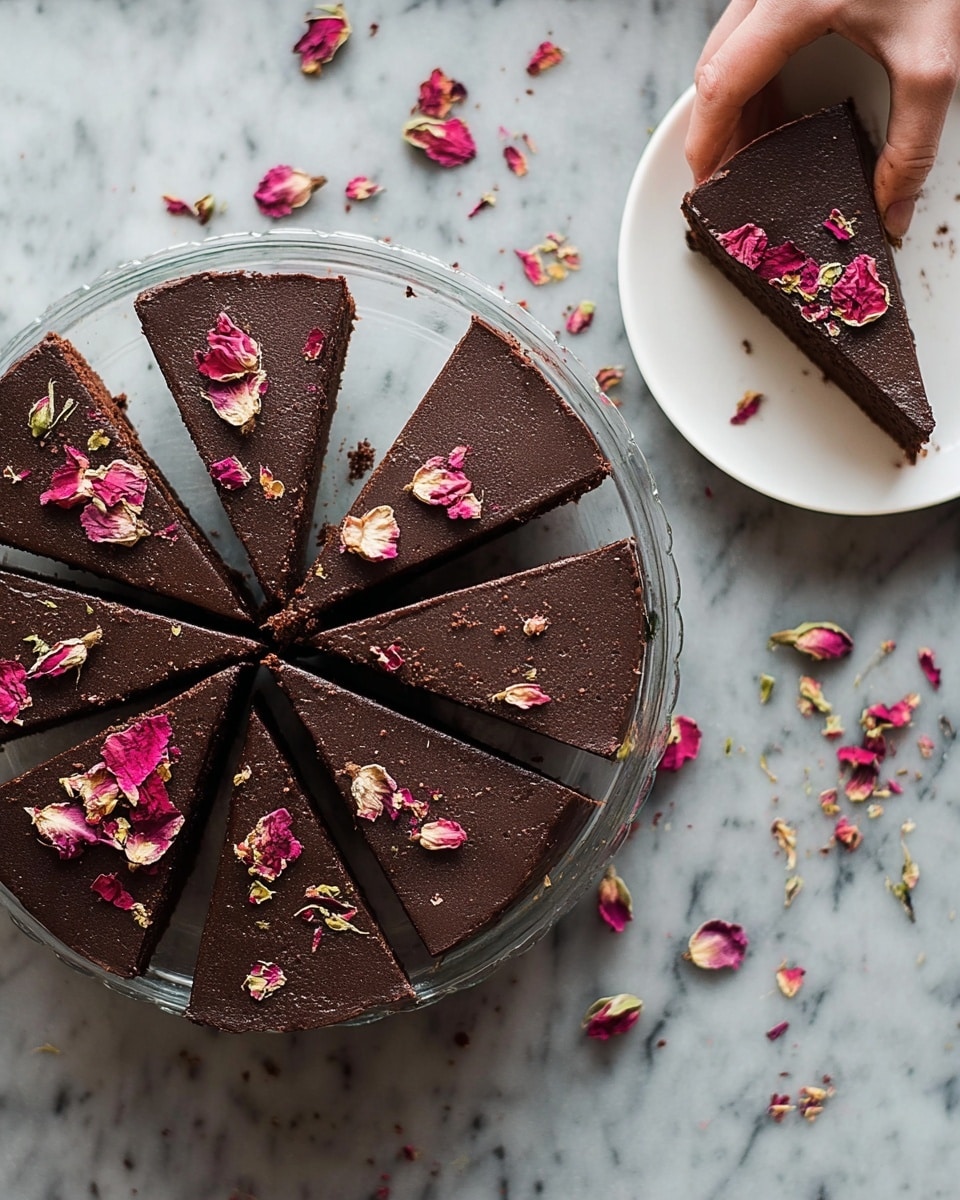
This Flourless Chocolate Truffle Cake is a rich, dense dessert that highlights the deep flavor of bittersweet chocolate. Its silky texture and intense taste make it a perfect choice for special occasions or when you want an indulgent treat without flour.
Ingredients
- 8 large eggs (cold)
- 1 lb high-quality bittersweet or semisweet chocolate (coarsely chopped)
- 16 tablespoons unsalted butter (cut into 16 pieces, 1 cup)
- 1/4 cup strong black coffee or liqueur (optional)
- Confectioners’ sugar or unsweetened cocoa for dusting the cake (optional)
Instructions
- Step 1: Adjust an oven rack to the lower-middle position and heat the oven to 325 degrees F (not fan assisted).
- Step 2: Line the bottom of an 8-inch springform pan with parchment paper and grease the sides. Wrap the outside of the pan with 2 sheets of heavy-duty foil and place it in a large roasting pan. Bring a kettle of water to a boil.
- Step 3: Beat the cold eggs in the bowl of a standing mixer at high speed until the volume doubles, about 5 minutes.
- Step 4: Melt the chocolate and butter (add coffee or liqueur if using) in a heatproof bowl set over a pan of almost-simmering water until smooth and very warm (about 115°F), stirring occasionally.
- Step 5: Alternatively, melt in the microwave by heating chocolate at 50% power for 2 minutes, stir, add butter and coffee or liqueur, then continue heating at 50% power, stirring every minute until melted and smooth, about 2–3 minutes more.
- Step 6: Fold one-third of the egg foam gently into the chocolate mixture using a rubber spatula until only a few egg streaks remain. Fold in half the remaining foam, then fold in the last of the egg foam until fully combined.
- Step 7: Scrape the batter into the prepared pan and smooth the surface. Place the roasting pan on the oven rack and pour boiling water to come halfway up the pan sides. Bake until the cake rises slightly, edges set, surface forms a thin, glazed crust, and an instant-read thermometer reads 140°F in the center, about 22–25 minutes.
- Step 8: Remove the cake pan from the water bath and cool on a wire rack to room temperature. Cover and refrigerate overnight to set (up to 4 days).
- Step 9: About 30 minutes before serving, remove the pan sides, invert the cake onto wax paper, peel off parchment, then reinvert onto a serving platter. Dust lightly with confectioners’ sugar or cocoa powder. Slice with a sharp, tin-bladed knife dipped in hot water and wiped clean between cuts.
Tips & Variations
- Use high-quality chocolate for the best flavor and texture.
- Add a splash of coffee or liqueur to enhance the chocolate’s richness.
- For a different touch, dust the cake with chopped nuts or fresh berries instead of sugar or cocoa powder.
Storage
Store the cake covered in the refrigerator for up to 4 days. Bring it to room temperature before serving for the best texture and flavor. Reheating is not recommended as it may alter the cake’s delicate texture.
How to Serve
Serve this delicious recipe with your favorite sides.
FAQs
Can I use a different type of chocolate?
Yes, you can substitute bittersweet or semisweet chocolate according to your taste, but avoid using milk chocolate as it may change the texture and sweetness balance.
Is it necessary to use a water bath for baking?
Yes, the water bath helps the cake bake gently and evenly, preventing cracking and ensuring a smooth, truffle-like texture.
PrintFlourless Chocolate Truffle Cake Recipe
This Flourless Chocolate Truffle Cake is a rich, decadent dessert that boasts an intense chocolate flavor and a fudgy, truffle-like texture. Made without flour, this cake relies on whipped eggs and high-quality bittersweet or semisweet chocolate to create a dense, silky, and indulgent treat. It’s perfect for chocolate lovers seeking a gluten-free and impressive dessert for special occasions.
- Prep Time: 15 minutes
- Cook Time: 25 minutes
- Total Time: 10 hours 40 minutes
- Yield: 8 to 10 servings 1x
- Category: Dessert
- Method: Baking
- Cuisine: French
- Diet: Gluten Free
Ingredients
Main Ingredients
- 8 large eggs (cold)
- 1 lb high-quality bittersweet or semisweet chocolate, coarsely chopped
- 16 tablespoons unsalted butter (1 cup), cut into 16 pieces
- 1/4 cup strong black coffee or liqueur (optional)
- Confectioners’ sugar or unsweetened cocoa for dusting the cake (optional)
Instructions
- Preheat and prepare pan: Adjust an oven rack to the lower-middle position and preheat the oven to 325°F (not fan-assisted). Line the bottom of an 8-inch springform pan with parchment paper, grease the sides, and wrap the outside of the pan with 2 sheets of heavy-duty foil. Place the prepared pan in a large roasting pan and bring a kettle of water to a boil.
- Whip the eggs: Using a standing mixer, beat the cold eggs at high speed until their volume doubles, about 5 minutes. This aeration provides structure for the cake.
- Melt chocolate and butter: In a heatproof bowl set over a pan of almost-simmering water, melt the chocolate and butter together, adding the coffee or liqueur if using. Stir occasionally until smooth and warm, about 115°F. Alternatively, melt in the microwave at 50% power in increments, stirring between heats, until fully melted and smooth.
- Fold egg foam into chocolate mixture: Gently fold one-third of the whipped eggs into the chocolate mixture with a rubber spatula until only a few streaks remain. Then fold in half of the remaining egg foam, followed by the rest, until fully combined and no egg streaks are visible.
- Prepare for baking: Pour the batter into the prepared springform pan and smooth the surface. Place the roasting pan with the springform inside onto the preheated oven rack. Carefully pour boiling water into the roasting pan to reach about halfway up the springform pan.
- Bake the cake: Bake for 22 to 25 minutes until the cake rises slightly, edges begin to set, a thin glazed crust forms on top, and the internal temperature reaches 140°F. Once done, remove the springform pan from the water bath and transfer to a wire rack to cool to room temperature.
- Chill to set: Cover the cooled cake and refrigerate overnight to fully set the texture. The cake can be refrigerated, covered, for up to 4 days.
- Serve the cake: About 30 minutes before serving, remove the sides of the springform pan. Invert the cake onto wax paper, peel off the parchment, then reinvert onto a serving platter. Lightly dust with confectioners’ sugar or cocoa powder. For clean slices, use a sharp, tin-bladed knife warmed in hot water between cuts.
Notes
- Ensure eggs are cold before whipping for maximum volume.
- Wrapping the springform pan in foil prevents water from leaking in during the water bath baking.
- The optional coffee or liqueur enhances the chocolate flavor without overpowering it.
- Do not overbake—it’s essential to achieve a fudgy interior with just a set crust.
- Using a water bath helps the cake bake evenly and maintains moisture.
- For best texture and flavor, allow the cake to chill overnight before serving.
- Use a sharp knife warmed between slices to keep the cake slices clean and smooth.
Keywords: flourless chocolate cake, chocolate truffle cake, gluten free chocolate cake, decadent chocolate dessert, water bath cake