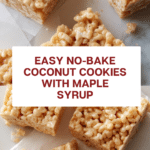
No-Bake Coconut Cookies Recipe
Introduction
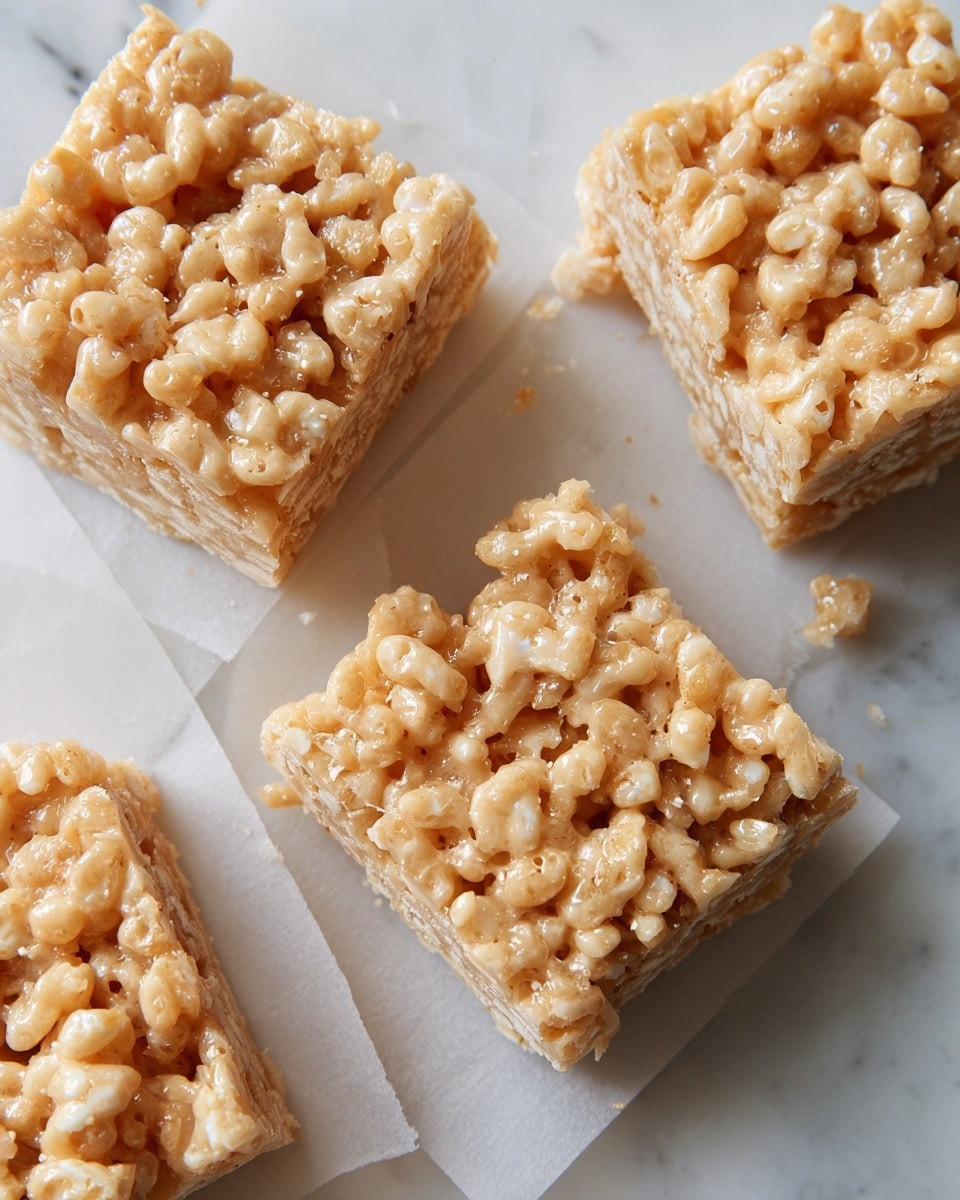
No-bake coconut cookies are a simple and delicious treat that come together quickly with just a few ingredients. These sweet, chewy cookies highlight the natural flavor of coconut and maple syrup, perfect for when you want a homemade dessert without turning on the oven.
Ingredients
- 1 cup maple syrup
- 1 cup shredded coconut
- 1 teaspoon coconut flavoring or vanilla (optional)
- 1 tablespoon cocoa powder (optional)
Instructions
- Step 1: Pour the maple syrup into a pan and clip a candy thermometer to the side.
- Step 2: Bring the syrup to a boil and continue boiling until it reaches the soft ball stage (234-236ºF).
- Step 3: Remove the pan from heat and allow the syrup to cool for five minutes.
- Step 4: Begin beating the syrup with a fork, beaters, or a stick blender until it starts to crystallize.
- Step 5: If desired, add cocoa powder or your choice of flavoring and stir well.
- Step 6: Stir in the shredded coconut until fully combined.
- Step 7: Drop spoonfuls of the mixture onto parchment or waxed paper.
- Step 8: Allow the cookies to cool completely until set.
- Step 9: Enjoy your homemade no-bake coconut cookies!
Tips & Variations
- For a chocolate twist, add 1 tablespoon of cocoa powder to the syrup before mixing in the coconut.
- Use vanilla extract if you prefer a milder, classic flavor instead of coconut flavoring.
- Ensure the syrup reaches the correct soft ball stage for the perfect chewy texture—using a candy thermometer helps a lot!
- Try adding chopped nuts or dried fruit for extra texture and flavor.
Storage
Store the cookies in an airtight container at room temperature for up to one week. If your kitchen is warm, keeping them in the refrigerator can help maintain their shape. To enjoy, simply bring them back to room temperature before serving. These cookies do not freeze well due to their texture.
How to Serve
Serve this delicious recipe with your favorite sides.
FAQs
What is the soft ball stage and why is it important?
The soft ball stage refers to heating syrup between 234-236ºF, when a small amount dropped into cold water forms a soft, flexible ball. It ensures the proper consistency for chewy cookies rather than hard candy or a runny mixture.
Can I use a sweetener other than maple syrup?
Maple syrup gives these cookies their distinctive flavor and texture, but you can try honey or light corn syrup as alternatives. Keep in mind that the taste and consistency may vary slightly.
PrintNo-Bake Coconut Cookies Recipe
These No-Bake Coconut Cookies are a simple and delicious treat made with maple syrup and shredded coconut. They require no oven and rely on boiling the syrup to the soft ball stage before mixing in the coconut and optional flavorings. Perfect for a quick sweet snack or dessert that combines chewy and slightly crunchy textures with rich coconut flavor.
- Prep Time: 5 minutes
- Cook Time: 10 minutes
- Total Time: 20 minutes
- Yield: Approximately 20 cookies 1x
- Category: Dessert
- Method: Stovetop
- Cuisine: American
- Diet: Vegetarian
Ingredients
Primary Ingredients
- 1 cup maple syrup
- 1 cup shredded coconut
Optional Ingredients
- 1 teaspoon coconut flavoring or vanilla extract
- 1 tablespoon cocoa powder
Instructions
- Prepare the Syrup: Pour the maple syrup into a pan and clip a candy thermometer to the side of the pan to monitor the temperature accurately.
- Boil to Soft Ball Stage: Bring the syrup to a boil. Continue boiling until the syrup reaches the soft ball stage, between 234-236ºF, which indicates the right consistency for the cookies.
- Cool Slightly: Remove the pan from heat and allow the mixture to cool for about five minutes to prevent overheating in the next step.
- Beat the Mixture: Begin beating the syrup with a fork, electric beaters, or a stick blender until the mixture just begins to crystallize. This helps achieve the right texture.
- Add Flavorings: If desired, mix in the cocoa powder or coconut/vanilla flavoring to enhance the taste.
- Incorporate Coconut: Stir in the shredded coconut thoroughly until the mixture is well combined.
- Form Cookies: Drop spoonfuls (teaspoons or tablespoons) of the mixture onto parchment paper or waxed paper to form individual cookies.
- Cool Completely: Allow the cookies to cool and set completely at room temperature before enjoying.
Notes
- Use a reliable candy thermometer to ensure accurate temperature for the soft ball stage.
- You can substitute coconut flavoring with vanilla extract or omit it entirely based on preference.
- For a chocolate variation, add 1 tablespoon of cocoa powder when mixing in flavorings.
- Store cookies in an airtight container at room temperature for up to one week.
- If the mixture is too sticky to handle, refrigerate for a few minutes before dropping onto parchment paper.
Keywords: no bake cookies, coconut cookies, maple syrup cookies, easy dessert, no oven dessert, soft ball stage candy