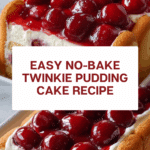
No-Bake Twinkie Pudding Cake Recipe
Introduction
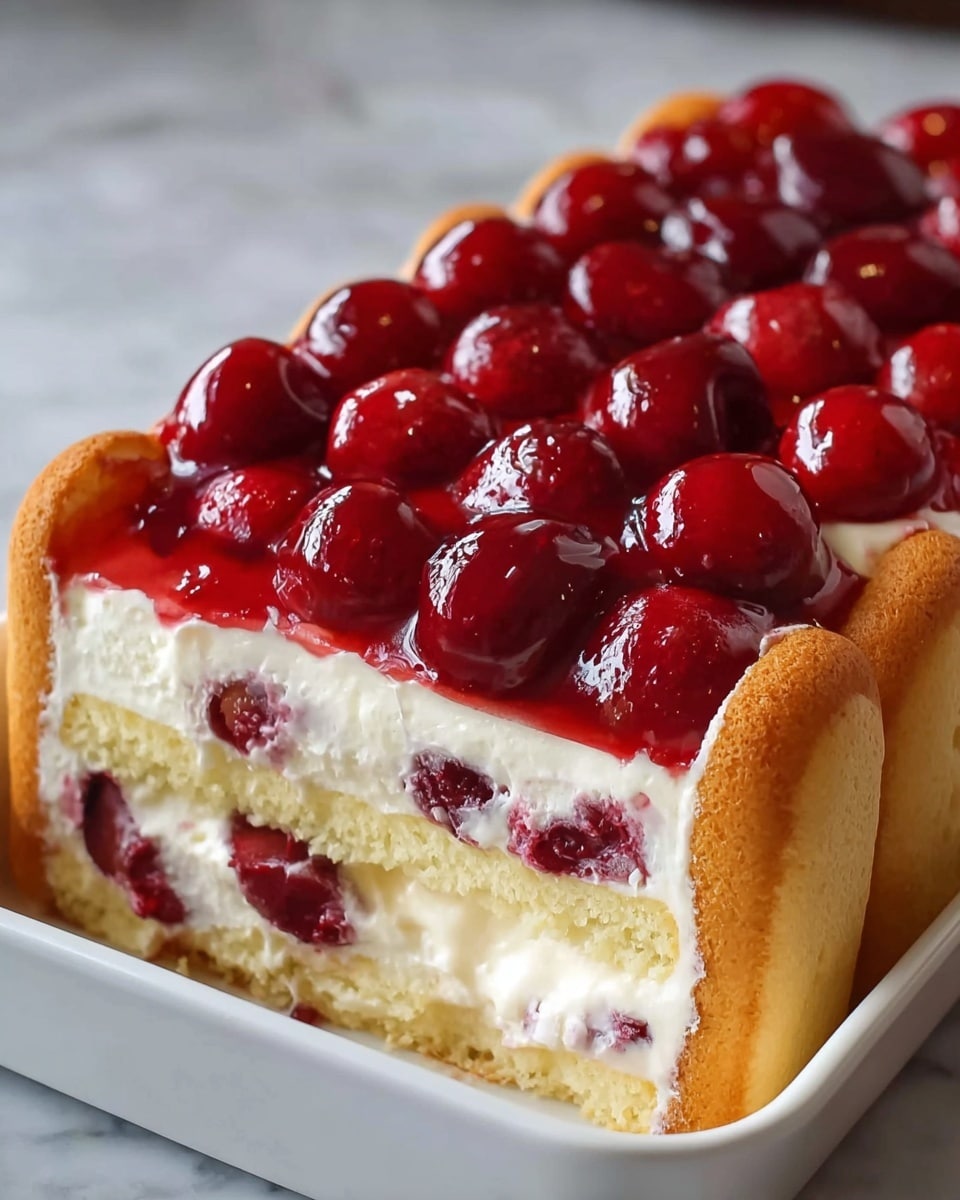
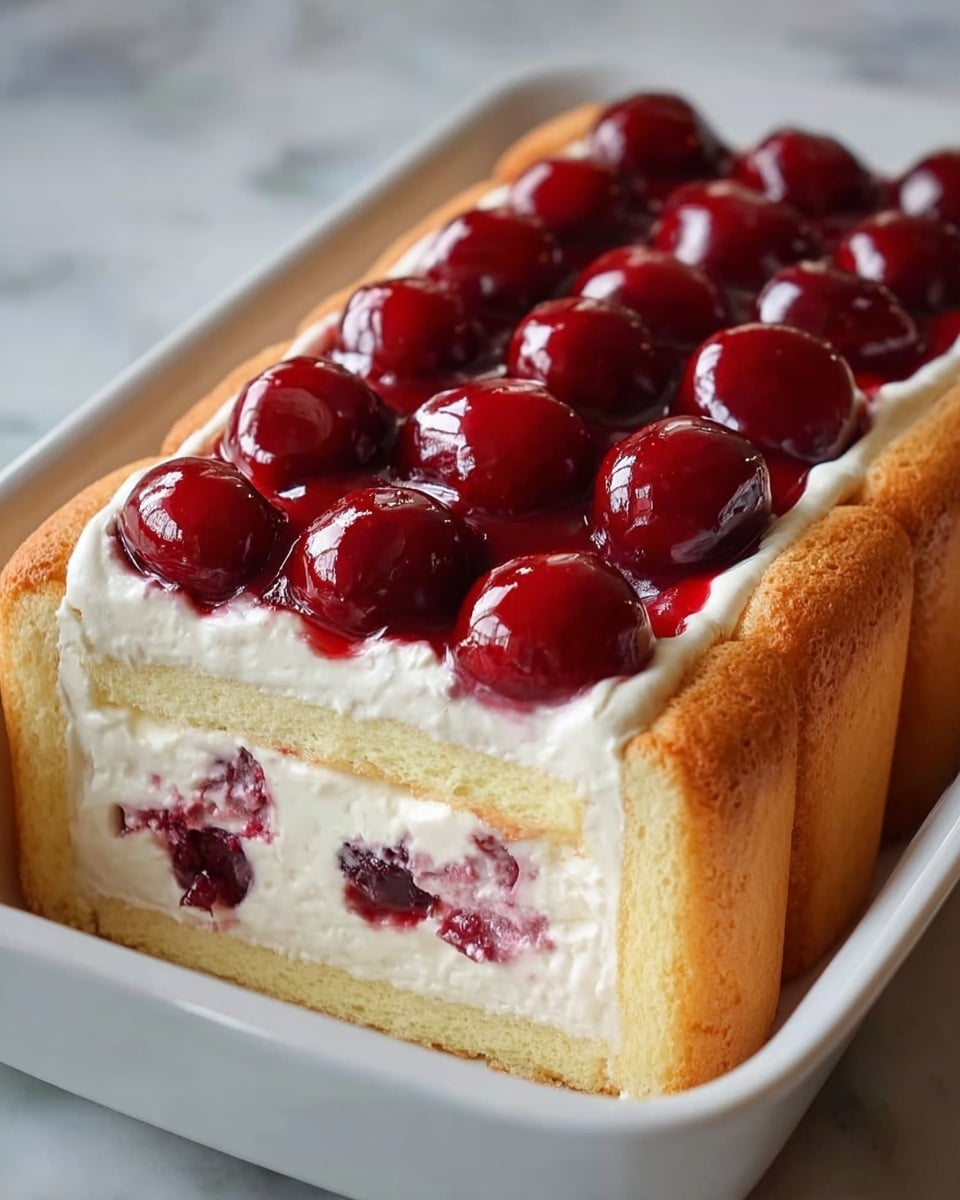
This No-Bake Twinkie Pudding Cake is a delightful, easy-to-make dessert that combines creamy pudding, sweet cherries, and soft Twinkies for a nostalgic treat. Perfect for warm days or when you want a fuss-free dessert that still feels special.
Ingredients
- 10 Twinkies
- 1 package (3.4 oz) instant vanilla pudding mix
- 2 cups milk
- 1 container (8 oz) whipped topping, thawed
- 1 can (21 oz) cherry pie filling
Instructions
- Step 1: Slice the Twinkies in half lengthwise and arrange them cream side up in the bottom of your baking dish.
- Step 2: In a mixing bowl, whisk together the instant vanilla pudding mix and milk until smooth. Let it sit for a few minutes to thicken.
- Step 3: Pour the thickened pudding evenly over the arranged Twinkies.
- Step 4: Gently spread the thawed whipped topping over the pudding layer.
- Step 5: Spoon the cherry pie filling evenly over the whipped topping.
- Step 6: Refrigerate the cake for at least 4 hours or overnight to allow it to set and the flavors to meld.
Tips & Variations
- For a different fruit flavor, try substituting the cherry pie filling with blueberry or strawberry pie filling.
- Use fresh whipped cream instead of store-bought whipped topping for a homemade touch.
- To add a bit of crunch, sprinkle chopped nuts like pecans or walnuts on top before serving.
Storage
Store the Twinkie pudding cake covered in the refrigerator for up to 3 days. To serve, you can enjoy it chilled straight from the fridge; reheating is not recommended as it is best enjoyed cold.
How to Serve
Serve this delicious recipe with your favorite sides.
FAQs
Can I make this dessert ahead of time?
Yes, this dessert benefits from chilling overnight as it allows the pudding to set and flavors to blend, making it even more delicious.
What can I use if I don’t have Twinkies?
You can substitute with other cream-filled sponge cakes or even plain ladyfingers for a similar texture and flavor profile.
PrintNo-Bake Twinkie Pudding Cake Recipe
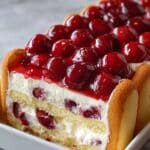
No-Bake Twinkie Pudding Cake is a delightful and easy-to-make dessert featuring layers of creamy vanilla pudding, fluffy whipped topping, cherry pie filling, and classic Twinkies. Perfect for those who want a quick, indulgent treat without turning on the oven, this chilled cake offers a taste of nostalgic sweetness combined with a luscious fruity finish.
- Prep Time: 15 minutes
- Cook Time: 0 minutes
- Total Time: 4 hours 15 minutes
- Yield: 8 servings 1x
- Category: Dessert
- Method: No-Cook
- Cuisine: American
Ingredients
Base
- 10 Twinkies, sliced in half lengthwise
Pudding Layer
- 1 package (3.4 oz) instant vanilla pudding mix
- 2 cups milk
Topping
- 1 container (8 oz) whipped topping, thawed
- 1 can (21 oz) cherry pie filling
Instructions
- Prepare the Base: Slice the Twinkies in half lengthwise and arrange them cream side up in the bottom of your baking dish to create the cake base.
- Mix the Pudding: In a mixing bowl, whisk together the instant vanilla pudding mix and 2 cups of milk until the mixture is smooth. Let it sit for a few minutes to thicken fully.
- Add Pudding Layer: Pour the thickened pudding evenly over the arranged Twinkies, spreading gently to cover completely.
- Add Whipped Topping: Carefully spread the thawed whipped topping over the pudding layer, creating a light and creamy second layer.
- Top with Cherries: Spoon the cherry pie filling evenly over the whipped topping to add a fruity and colorful finish.
- Chill: Refrigerate the cake for at least 4 hours or preferably overnight to allow the layers to set and flavors to meld beautifully.
Notes
- For best results, use full-fat milk to achieve a creamier pudding texture.
- Allow the whipped topping to thaw completely before spreading for easy application.
- Use a glass or ceramic baking dish for even chilling and attractive presentation.
- This dessert is best served chilled and should be kept refrigerated until ready to serve.
- You can substitute cherry pie filling with other fruit pie fillings such as blueberry or strawberry for a different flavor twist.
Keywords: No-Bake Cake, Twinkie Dessert, Instant Pudding Cake, Cherry Pie Filling Dessert, Easy No-Bake Dessert