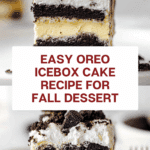
Oreo Icebox Cake Recipe
If you have a love for nostalgic flavors wrapped in an effortlessly elegant dessert, you are going to adore this Oreo Icebox Cake. This no-bake delight is a beautiful marriage of crunchy, milk-soaked Oreo cookies and luscious layers of creamy vanilla pudding mixed with whipped topping. Each bite offers a perfect harmony of texture and sweetness that feels like a special occasion but comes together with surprisingly simple ingredients and steps. Whether you want an impressive dessert for company or a comforting treat for yourself, the Oreo Icebox Cake is pure magic ready in your fridge.
Ingredients You’ll Need
To create this irresistible Oreo Icebox Cake, you’ll gather just a handful of pantry and fridge staples. Every ingredient has an important role to play: from the iconic Oreos that provide the perfect crunch and flavor, to the instant pudding that adds creamy richness, and the whipped topping that lightens everything with velvety softness.
- Oreo cookies (2 party-size packages): These are the star; classic cookies that soften beautifully when dipped in milk.
- Instant vanilla pudding mix (2 packages): Adds that smooth, sweet filling that melts gently into the cookie layers.
- Whole milk (3-1/4 cups, divided): Used both in the pudding mix and to soak the Oreos for that signature tender texture.
- Frozen whipped topping (8-ounce container, thawed and divided): Creates the airy, creamy layer that balances the dessert’s richness.
- Parchment paper: Helps lift the cake out of the pan easily for neat slicing and serving.
How to Make Oreo Icebox Cake
Step 1: Prep the Pan
Begin by lining your baking pan with parchment paper, making sure to leave plenty of overhang on the sides. This simple step is a lifesaver because it lets you lift the entire cake out without any messy scrambling, ensuring perfect layers every time.
Step 2: Set Aside Some Whipped Topping
Before mixing, scoop out one heaping cup of the whipped topping and set it aside for the final touch. This reserved whipped topping will become the glossy, irresistible crown on your Oreo Icebox Cake.
Step 3: Prepare the Filling
In a mixing bowl, whisk together both packages of instant vanilla pudding mix. Slowly whisk in 2-1/4 cups of whole milk, beating for a minute or two until the mix is smooth and starts to thicken. Then gently fold in the remaining whipped topping, combining them carefully to keep the filling light and airy.
Step 4: Soak and Layer the Oreos
Pour the last cup of milk into a shallow bowl. Quickly dip each Oreo cookie, flipping to coat both sides, but don’t let them get soggy—just a quick dunk so they soften but hold their shape. Arrange a single layer of these milk-soaked Oreos in the prepared pan, breaking cookies as needed to fit the space snugly.
Step 5: Build the Layers
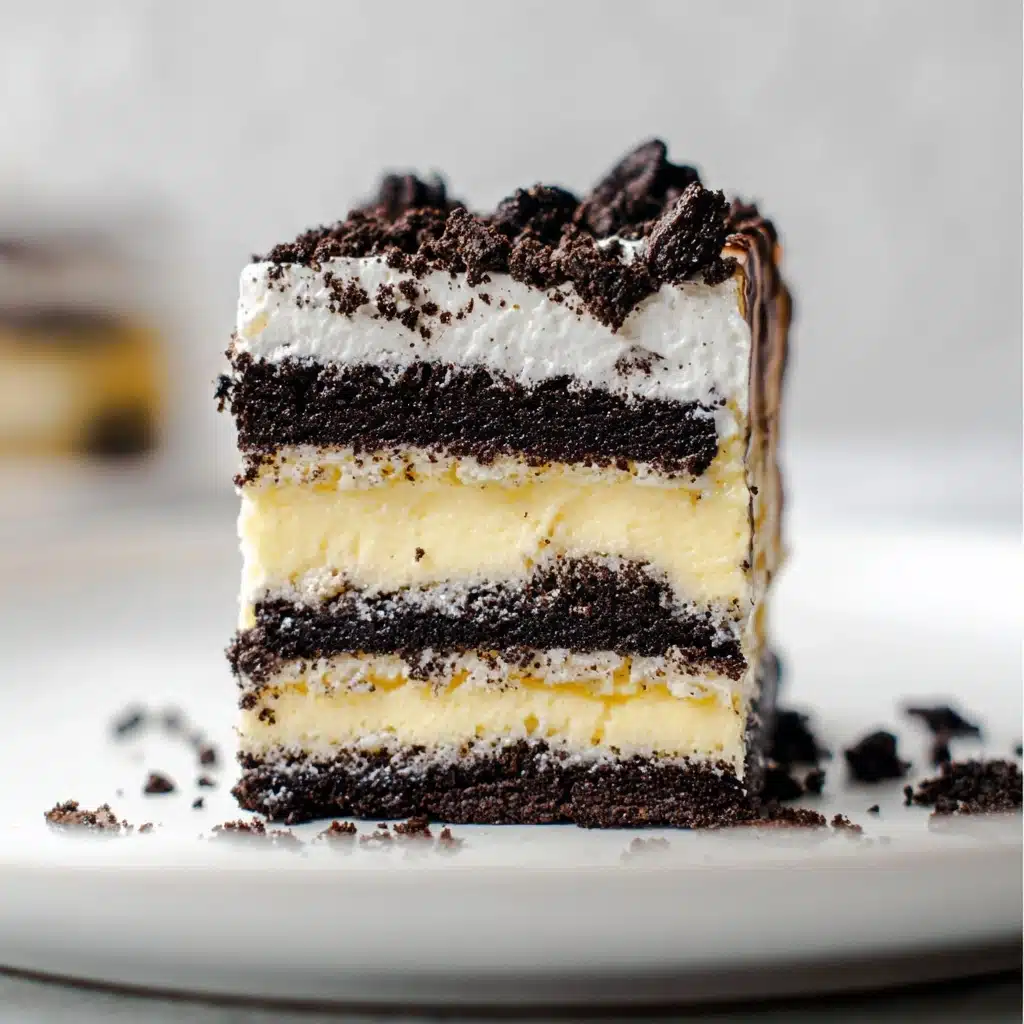
Spread half of the pudding and whipped topping mixture evenly over your Oreo base. Add a second layer of milk-dipped Oreos, then the rest of the pudding mixture on top. Finish with a final alternating layer of Oreos, making the cake look tall and inviting.
Step 6: Chill the Cake
Spread the reserved whipped topping you set aside in Step 2 over the very top of your cake. Cover the whole thing tightly with plastic wrap or foil and pop it into the fridge to chill for at least eight hours, or ideally overnight. This resting time allows the Oreos to soften into melt-in-your-mouth layers, transforming the texture completely.
Step 7: Serve Your Masterpiece
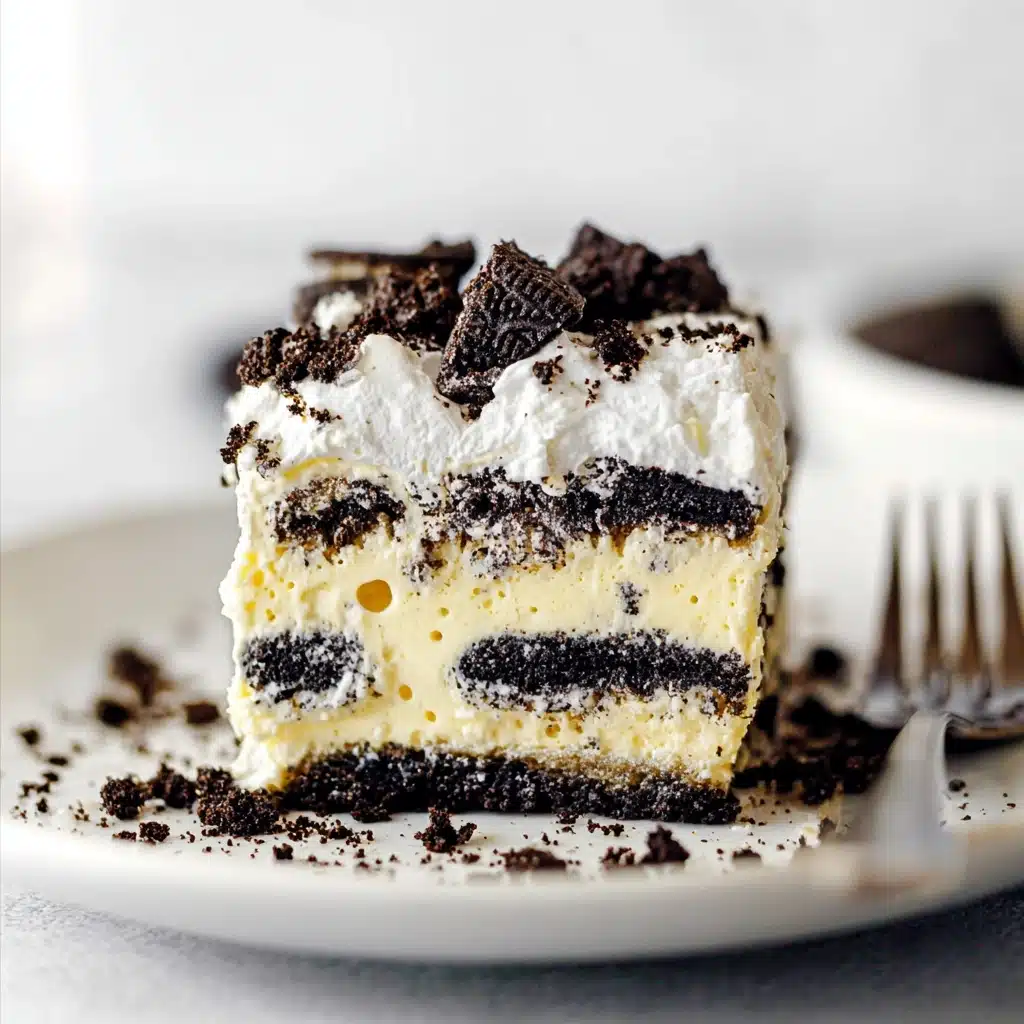
When it’s time to serve, carefully lift the Oreo Icebox Cake out by the parchment overhang. Using a sharp knife wiped between cuts, slice into neat squares. For an extra touch of fun and texture, sprinkle some crumbled Oreos over the top right before plating.
How to Serve Oreo Icebox Cake
Garnishes
Fresh garnishes can take this cake from delightful to show-stopping. Crumbled Oreo pieces, a drizzle of chocolate syrup, or even a few raspberries on top add color, texture, and a slight tart contrast to the sweet layers.
Side Dishes
This Oreo Icebox Cake pairs wonderfully with a scoop of vanilla ice cream or a simple fresh fruit salad. The cool, creamy ice cream matches the cake’s softness, while bright fruit balances its richness.
Creative Ways to Present
Serve this cake in individual clear cups or parfait glasses for an elegant, mess-free option perfect for parties. Alternatively, add a dollop of whipped cream and a whole Oreo cookie on each slice for instant photogenic appeal.
Make Ahead and Storage
Storing Leftovers
Keep any leftover Oreo Icebox Cake in an airtight container or tightly wrapped with plastic wrap in the refrigerator. It stays fresh and delicious for up to four days, giving you plenty of time to savor every bite.
Freezing
If you want to enjoy this treat later, freeze individual slices wrapped well in plastic wrap and foil to prevent freezer burn. Thaw overnight in the fridge before serving to maintain that perfect texture.
Reheating
This dessert is best enjoyed cold and does not require reheating. Letting it come to room temperature briefly before eating can enhance the flavors and softness, but avoid warming it up, as that will alter its creamy texture.
FAQs
Can I use light milk or a milk alternative in this Oreo Icebox Cake?
You can substitute whole milk with light milk or a non-dairy alternative like almond or oat milk. Just keep in mind the texture might differ slightly, and whole milk gives the richest, creamiest result.
Do the Oreos need to be dipped in milk?
Dipping Oreos quickly in milk softens them just enough to create that luscious melt-in-your-mouth experience without turning soggy. Skipping this step results in a crunchier texture that some might enjoy, but it won’t have that classic icebox cake feel.
Can I make this cake gluten-free?
Yes! Simply use gluten-free Oreo-style cookies or another gluten-free sandwich cookie. The rest of the ingredients are naturally gluten-free, so your cake will be just as delicious.
Is it necessary to chill the cake overnight?
Chilling overnight gives the best results because it allows the cookies to soften fully and the layers to meld together. While you can serve it after 8 hours, more time in the fridge enhances flavor and texture.
Can I add chocolate pudding instead of vanilla?
Absolutely! Mixing chocolate pudding instead of vanilla or layering both flavors adds a fun twist. The Oreo Icebox Cake is versatile and welcomes your personal creative spins.
Final Thoughts
There’s something truly comforting and celebratory about the classic Oreo Icebox Cake that makes it a beloved choice for dessert lovers everywhere. Its simplicity belies the joy it brings with every bite of creamy, cookie-studded goodness. I hope this recipe inspires you to bring a little extra sweetness into your home with a cake that’s as fun to make as it is to eat. Go ahead and give it a try—you might just find your new favorite treat!
PrintOreo Icebox Cake Recipe

This delicious Oreo Icebox Cake is a no-bake dessert that layers milk-dipped Oreo cookies with creamy vanilla pudding and whipped topping. Chilled overnight, the cookies soften into cake-like layers, creating a rich, creamy treat perfect for any occasion.
- Prep Time: 20 minutes
- Cook Time: 0 minutes (no bake)
- Total Time: 8 hours 20 minutes (includes chilling time)
- Yield: 12 servings 1x
- Category: Dessert
- Method: No-Bake, Chilling
- Cuisine: American
- Diet: Vegetarian
Ingredients
Cookie Layer
- 2 (24-ounce) packages Oreo cookies (party-size)
Vanilla Pudding Filling
- 2 (3.4-ounce) packages instant vanilla pudding mix
- 2 1/4 cups whole milk (for pudding)
Additional Ingredients
- 1 cup whole milk (for dipping cookies)
- 1 8-ounce container frozen whipped topping (thawed and divided)
Instructions
- Prep Pan: Line a 9×13-inch pan with parchment paper, leaving an overhang on the sides to easily lift out the cake once set.
- Reserve Whipped Topping: Scoop out 1 heaping cup of whipped topping from the container and set aside for the final layer.
- Make Filling: In a mixing bowl, combine both packs of instant vanilla pudding mix. Gradually pour in 2 1/4 cups of whole milk while whisking constantly. Whisk for 1-2 minutes until smooth and thickened. Gently fold in the remaining whipped topping until fully combined.
- Dip and Arrange Cookies: Pour 1 cup of whole milk into a shallow bowl. Dip each Oreo cookie quickly on both sides to soften, then arrange a single layer of these milk-soaked cookies in the prepared pan, breaking cookies as needed to fit.
- Layer Cake: Spread half of the vanilla pudding filling evenly over the cookie layer. Add another layer of milk-soaked Oreos on top. Spread the remaining pudding mixture over this second cookie layer. Finish with a final layer of milk-soaked Oreo cookies.
- Chill Cake: Spread the reserved whipped topping over the top cookie layer. Cover the pan with plastic wrap and refrigerate for at least 8 hours, preferably overnight, to allow the cookies to soften and the flavors to meld.
- Serve: Carefully lift the cake out using the parchment overhang. Using a sharp knife, cut into squares, wiping the blade clean between cuts for neat slices. Optionally, garnish with crumbled Oreo cookies before serving.
Notes
- Use party-size Oreo packages for the perfect amount of cookies and to avoid running out mid-layering.
- Instant pudding mix sets quickly and adds a smooth vanilla flavor, but you can substitute homemade pudding if preferred.
- Thawed whipped topping provides lightness to the pudding filling and a creamy finish on top.
- For a firmer cake, chilling overnight is recommended.
- Use whole milk for best flavor and texture, but 2% milk can be used as a lighter alternative.
- Shape the cake in a 9×13-inch pan; adjust cookie quantities correspondingly for different pan sizes.
Nutrition
- Serving Size: 1 slice (1/12 of recipe)
- Calories: 320 kcal
- Sugar: 35 g
- Sodium: 210 mg
- Fat: 13 g
- Saturated Fat: 7 g
- Unsaturated Fat: 4 g
- Trans Fat: 0 g
- Carbohydrates: 48 g
- Fiber: 2 g
- Protein: 4 g
- Cholesterol: 25 mg
Keywords: Oreo Icebox Cake, no-bake dessert, Oreo pudding cake, layered Oreo dessert, easy Oreo cake