Protein Cheesecake Recipe
Introduction
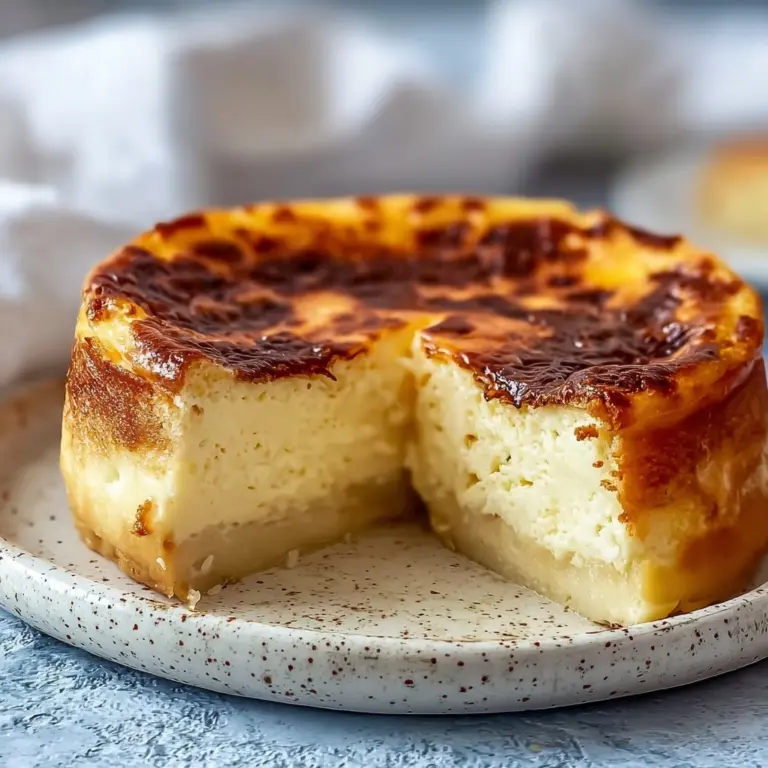
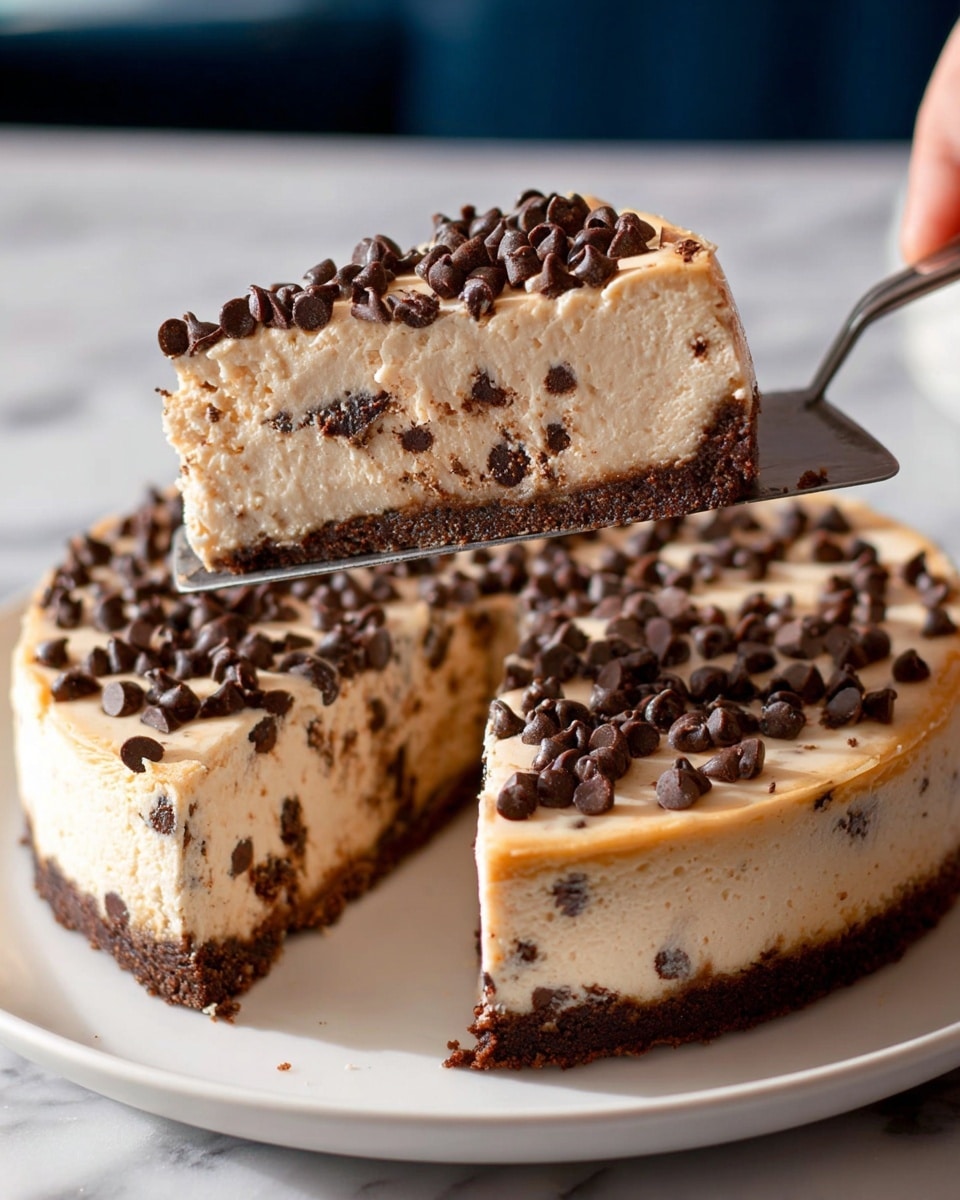
This protein cheesecake is a delicious, creamy dessert that combines rich cream cheese and Greek yogurt with a boost of protein powder. It’s perfect for anyone looking to enjoy a classic treat with added nutritional benefits.
Ingredients
- 24 oz cream cheese (or vegan cream cheese)
- 2 cups Greek yogurt (or dairy free alternative)
- 1/2 cup protein powder
- 2/3 cup sweetener (of choice)
- 2 1/2 tsp pure vanilla extract
- Crust of choice (optional)
Instructions
- Step 1: Preheat your oven to 350°F. Fill a baking pan about two thirds full with water and place it on the oven’s lower rack to create moisture during baking.
- Step 2: Bring the cream cheese to room temperature. Prepare your chosen crust in a 9-inch springform pan, if using.
- Step 3: In a food processor, blender, or using beaters, combine the cream cheese, Greek yogurt, protein powder, sweetener, and vanilla extract. Blend just until smooth.
- Step 4: Spread the filling evenly into the springform pan over the crust or directly into the pan if no crust is used.
- Step 5: Place the cheesecake on the center rack, above the water pan, and bake for 30 minutes. After 30 minutes, turn off the oven but do not open the door; let the cheesecake sit inside for an additional five minutes.
- Step 6: Remove the cheesecake from the oven and let it cool on the counter. Once cooled, refrigerate for at least six hours to allow it to firm up completely.
Tips & Variations
- To prevent cracking, avoid sudden temperature changes by using the water pan and gradual cooling steps as described.
- Use flavored protein powder like vanilla or chocolate to add extra flavor.
- Try a nut-based crust or graham cracker crust for added texture and taste.
- For a dairy-free version, substitute with vegan cream cheese and dairy-free yogurt options.
Storage
Store the cheesecake covered in the refrigerator for up to 4 days. For longer storage, freeze it wrapped tightly in plastic wrap and foil for up to 1 month. To serve, thaw overnight in the refrigerator. Reheating is not recommended as it may alter the texture.
How to Serve
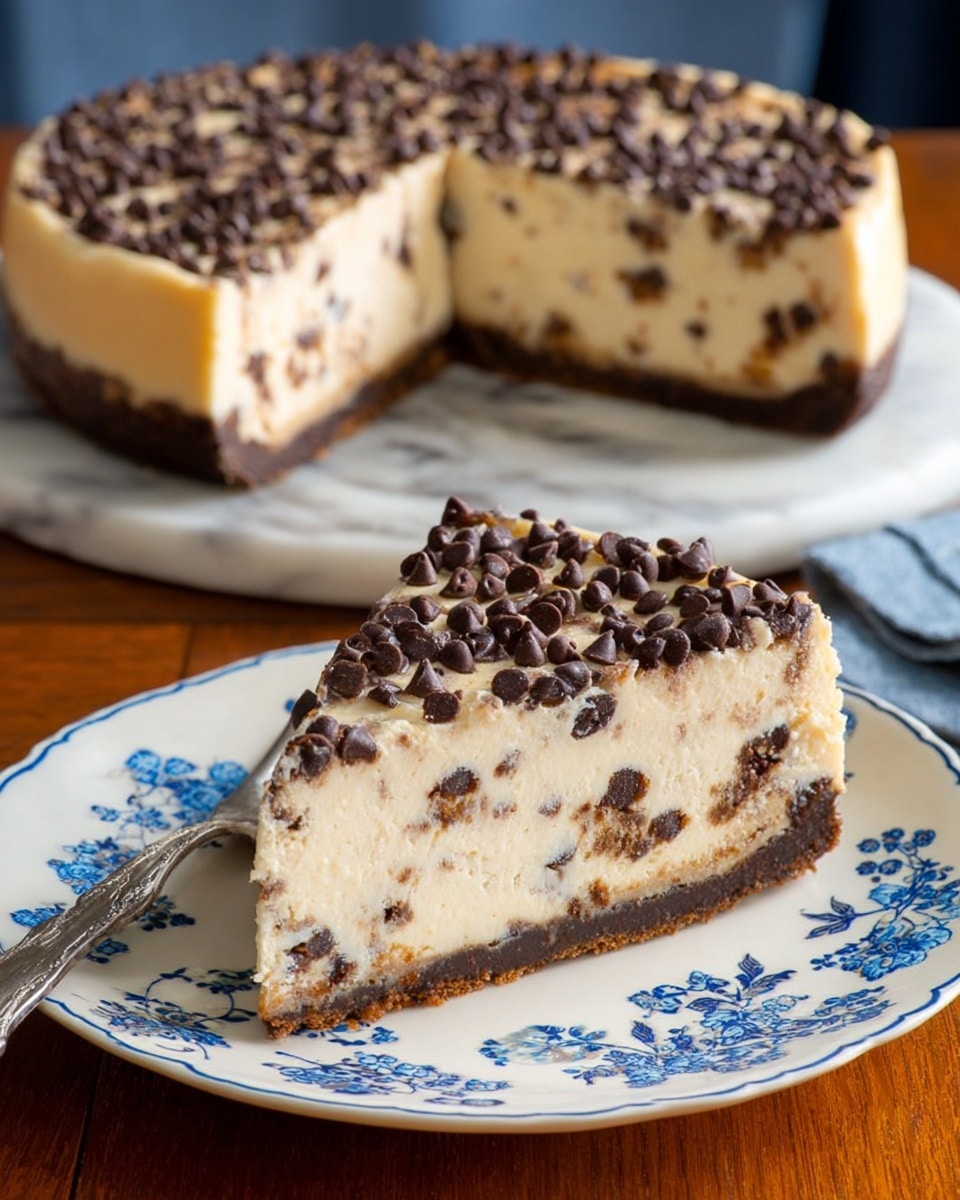
Serve this delicious recipe with your favorite sides.
FAQs
Can I use any type of protein powder?
Yes, you can use your preferred protein powder, but unflavored or vanilla varieties work best to maintain the classic cheesecake taste.
Do I have to use a crust?
No, the crust is optional. You can bake the cheesecake filling directly in the springform pan without a crust for a simpler, lower-carb version.
PrintProtein Cheesecake Recipe

This Protein Cheesecake offers a creamy, satisfying dessert packed with added protein, perfect for those looking to indulge without compromising their nutrition goals. Made with cream cheese, Greek yogurt, and protein powder, it provides a rich texture balanced by the smoothness of the yogurt and the boost of protein powder. The recipe incorporates a water bath baking technique to ensure a crack-free surface and a velvety finish, making it an ideal treat for fitness enthusiasts and dessert lovers alike.
- Prep Time: 15 minutes
- Cook Time: 30 minutes
- Total Time: 6 hours 45 minutes
- Yield: 8 servings 1x
- Category: Dessert
- Method: Baking
- Cuisine: American
- Diet: Low Fat
Ingredients
Cheesecake Filling
- 24 oz cream cheese (or vegan cream cheese), softened to room temperature
- 2 cups Greek yogurt (or dairy-free alternative)
- 1/2 cup protein powder (flavor of choice, e.g., vanilla or unflavored)
- 2/3 cup sweetener of choice (e.g., erythritol, stevia blend, or sugar substitute)
- 2 1/2 teaspoons pure vanilla extract
Crust (optional)
- Prepare your crust of choice (e.g., graham cracker crust, nut-based crust, or gluten-free crust), enough for a 9-inch springform pan
Instructions
- Preheat Oven and Set Water Bath: Preheat your oven to 350°F (177°C). Fill a baking pan about two-thirds full with water and place it on the oven’s lower rack. This water bath creates steam during baking, helping to keep the cheesecake moist and prevent cracks.
- Prepare Cream Cheese: Ensure the cream cheese is at room temperature for easier mixing and a smoother batter.
- Prepare Crust (if using): Prepare your preferred crust and press it evenly into the bottom of a 9-inch springform pan. Set aside.
- Mix Filling Ingredients: In a food processor, blender, or with electric beaters, combine the softened cream cheese, Greek yogurt, protein powder, sweetener, and vanilla extract. Blend just until smooth and well combined to avoid overmixing which can incorporate air.
- Fill Pan and Bake: Pour the filling over the crust or directly into the springform pan if not using a crust. Place the pan on the oven’s center rack, directly above the pan of water.
- Bake and Cool: Bake for 30 minutes at 350°F. After 30 minutes, turn off the oven but do not open the door. Let the cheesecake sit inside the oven for an additional 5 minutes to gradually finish cooking and cool slightly.
- Cool at Room Temperature: Remove the cheesecake from the oven and let it cool on the counter to room temperature. This gentle cooling reduces the risk of cracking.
- Refrigerate to Set: Once cooled, place the cheesecake in the refrigerator for at least 6 hours or overnight. This chilling time allows the cheesecake to firm up and develop its characteristic texture.
Notes
- Using a water bath helps maintain moisture and prevents cracking on the cheesecake surface.
- For a vegan or dairy-free alternative, substitute cream cheese and Greek yogurt with plant-based versions.
- Do not overmix the batter to avoid excess air, which can cause cracks.
- The slow cooling process in the oven is important to prevent sudden temperature changes that might crack the cheesecake.
- Various crust options can be used depending on dietary preferences, including gluten-free or nut-based crusts.
- If you want a richer texture, consider adding an egg or egg substitute, but this recipe is designed to work without eggs.
Keywords: protein cheesecake, high protein dessert, healthy cheesecake, low sugar cheesecake, baked cheesecake, fitness dessert