S’mores Cookie Cups Recipe
Introduction
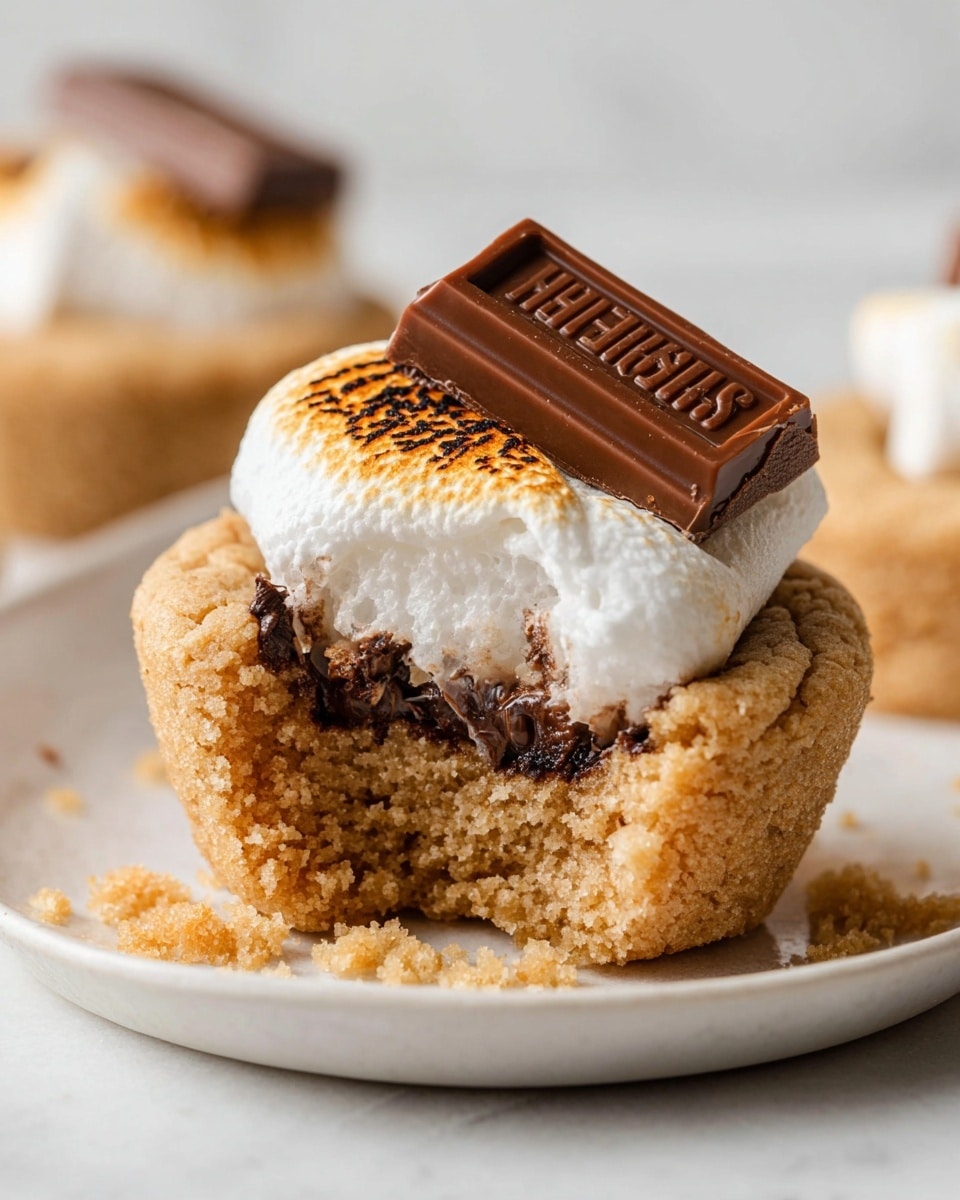
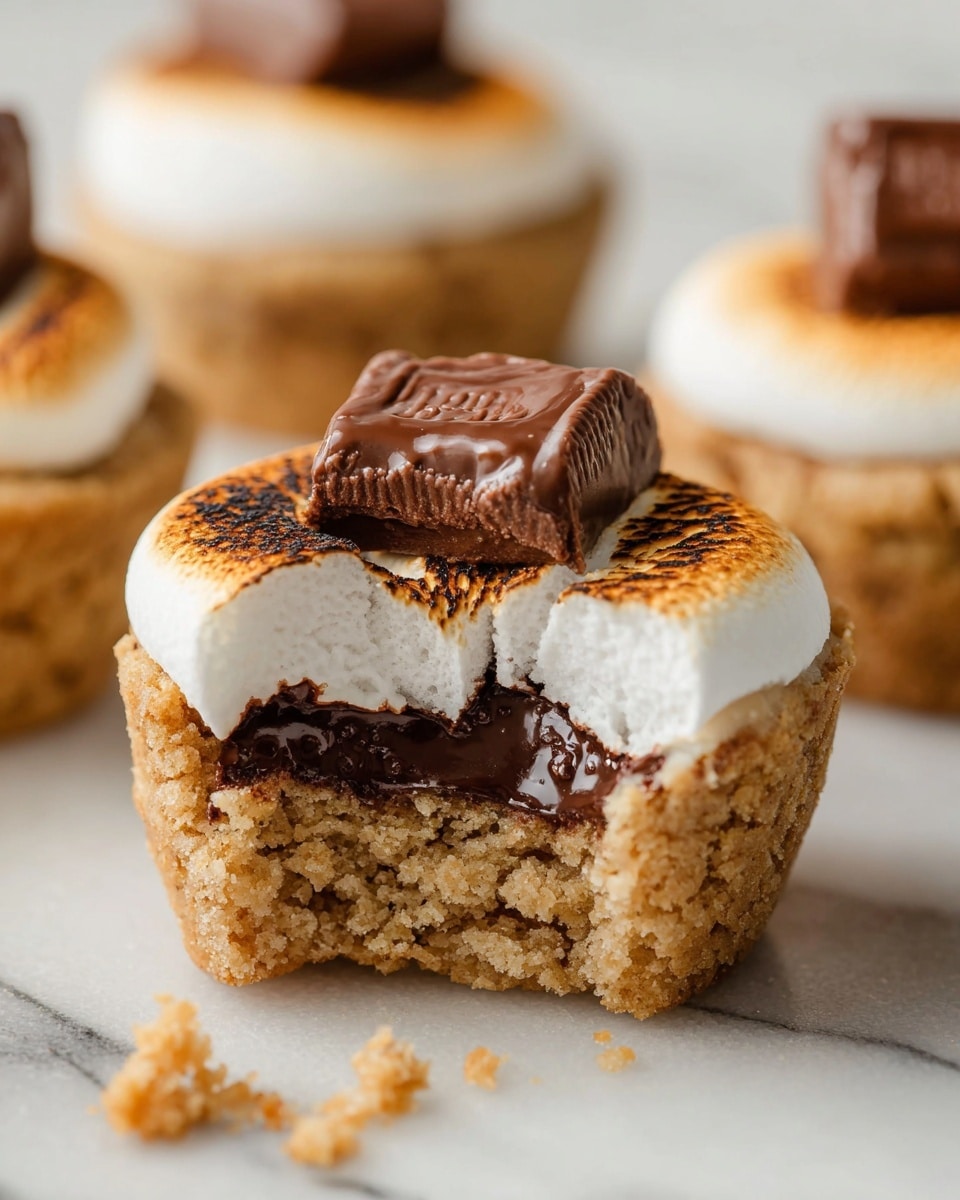
S’mores Cookie Cups are a delightful twist on the classic campfire treat, combining graham cracker-flavored cookie dough with melty marshmallows and rich milk chocolate. Perfectly bite-sized, these treats bring all the nostalgic flavors of s’mores into a convenient mini cupcake form.
Ingredients
- 1¼ cup all-purpose flour
- 1 cup graham cracker crumbs
- ½ teaspoon baking soda
- ¼ teaspoon salt
- ½ cup (1 stick) butter, softened
- ½ cup light brown sugar, packed
- ⅓ cup granulated sugar
- 1 large egg
- 1 teaspoon vanilla extract
- 12 large marshmallows, cut in half
- 2 bars (1.55 oz each) Hershey’s milk chocolate
Instructions
- Step 1: Preheat the oven to 350℉ and spray a mini muffin pan with nonstick cooking spray. Set aside.
- Step 2: In a small bowl, whisk together the flour, graham cracker crumbs, baking soda, and salt. Set aside.
- Step 3: In a larger bowl, beat the softened butter, brown sugar, and granulated sugar with an electric mixer until fluffy, about 1-2 minutes.
- Step 4: Add the egg and vanilla extract, then continue mixing until fully combined.
- Step 5: Gradually mix the dry ingredients into the wet mixture on low speed until just combined. The dough will be crumbly but should hold together when pressed.
- Step 6: Scoop the dough into the mini muffin cups, filling each cup full and pressing down slightly to even the tops.
- Step 7: Bake for 8 minutes; the cookie cups should look slightly underbaked.
- Step 8: Immediately after baking, use a teaspoon-sized measuring spoon to press an indent in the center of each cookie cup.
- Step 9: Place a marshmallow half, sticky side down, into each indent, pressing lightly.
- Step 10: Let the cookie cups cool at room temperature for 15 minutes.
- Step 11: Top each marshmallow with one square of milk chocolate.
- Step 12: Turn your broiler to high and place the pan under it for 1-2 minutes, watching carefully until the chocolate melts and marshmallows toast slightly.
- Step 13: Let cool for 5-10 minutes before serving. Enjoy warm for gooey goodness or at room temperature.
Tips & Variations
- For extra gooeyness, use jumbo marshmallows cut into smaller pieces instead of regular large ones.
- Swap milk chocolate squares for dark or white chocolate based on your preference.
- If you don’t have a broiler, you can melt the chocolate in the microwave after assembling, then torch the marshmallows lightly with a kitchen torch if available.
Storage
Store the cookie cups in an airtight container at room temperature for up to 3 days. Reheat briefly in the microwave for 10-15 seconds for a warm, melty treat, or enjoy them cold as a convenient snack.
How to Serve
Serve this delicious recipe with your favorite sides.
FAQs
Can I use regular graham crackers instead of crumbs?
Yes, if you don’t have store-bought graham cracker crumbs, you can crush regular graham crackers finely using a food processor or by placing them in a zip-top bag and crushing with a rolling pin.
What if I don’t have a mini muffin pan?
You can use a standard muffin pan, but the baking time may increase slightly. Alternatively, use silicone mini baking cups placed on a baking sheet, though the shape may be less defined.
PrintS’mores Cookie Cups Recipe

Indulge in these delightful S’mores Cookie Cups, a perfect handheld treat combining the crumbly texture of graham cracker-infused cookie dough with gooey marshmallows and melted milk chocolate. Baked in mini muffin tins and finished under the broiler for that golden toasted marshmallow top, these cookie cups capture the classic campfire s’mores in a convenient, bite-sized form.
- Prep Time: 15 minutes
- Cook Time: 10 minutes
- Total Time: 25 minutes
- Yield: 24 mini cookies 1x
- Category: Dessert
- Method: Baking
- Cuisine: American
Ingredients
Dry Ingredients
- 1¼ cup all-purpose flour
- 1 cup graham cracker crumbs
- ½ teaspoon baking soda
- ¼ teaspoon salt
Wet Ingredients
- ½ cup (1 stick) butter, softened
- ½ cup light brown sugar, packed
- ⅓ cup granulated sugar
- 1 large egg
- 1 teaspoon vanilla extract
Toppings
- 12 large marshmallows, cut in half
- 2 bars (1.55 oz each) Hershey’s milk chocolate, broken into squares
Instructions
- Preheat and prepare pan: Preheat your oven to 350℉ (175℃). Generously spray a mini muffin pan with nonstick cooking spray to ensure easy release of the cookie cups.
- Mix dry ingredients: In a small bowl, whisk together the flour, graham cracker crumbs, baking soda, and salt until fully combined. Set aside.
- Cream butter and sugars: Using an electric hand mixer or stand mixer with paddle attachment, beat softened butter with light brown sugar and granulated sugar on medium speed until the mixture is fluffy and well combined, about 1-2 minutes.
- Add egg and vanilla: Incorporate the egg and vanilla extract into the butter-sugar mixture, beating until blended.
- Combine wet and dry: Slowly add the dry ingredient mixture to the wet ingredients, mixing on low speed just until no streaks of flour remain. The dough will look crumbly but should hold together when pressed.
- Fill muffin cups: Scoop the dough into each mini muffin cup, filling them fully, then press down gently to level the tops.
- Bake the cookie cups: Bake in the preheated oven for 8 minutes. The cookie cups will look slightly underbaked, which is perfect for this recipe.
- Create marshmallow indents: Immediately after baking, use a teaspoon or small measuring spoon to press down into the center of each cookie cup, making a small well for the marshmallows.
- Add marshmallows: Place a half marshmallow, sticky side down, into each indent, pressing lightly to set them in place.
- Cool: Allow the cookie cups to cool at room temperature for 15 minutes so the marshmallows set slightly.
- Top with chocolate: Add one square of Hershey’s milk chocolate on top of each marshmallow, preparing them for the final toasting.
- Broil for toast: Set your oven’s broiler to high. Place the mini muffin pan under the broiler for 1-2 minutes, watching closely to toast the marshmallows and melt the chocolate without burning.
- Final cooling and serving: Let the s’mores cookie cups cool for 5-10 minutes. Serve warm for a gooey treat or at room temperature for a firmer texture.
Notes
- Watching the marshmallows closely during broiling is crucial; they can burn very quickly.
- Using mini muffin tins creates perfectly sized individual treats that are easy to serve and share.
- For a more intense chocolate flavor, consider using dark chocolate squares instead of milk chocolate.
- Allowing the cookies to cool slightly helps set the marshmallows and chocolate for better handling.
- Store leftover cookie cups at room temperature in an airtight container for up to 2 days for best texture.
Keywords: S’mores, Cookie cups, Graham cracker cookies, Mini muffins, Marshmallow dessert, Chocolate treats, Campfire inspired